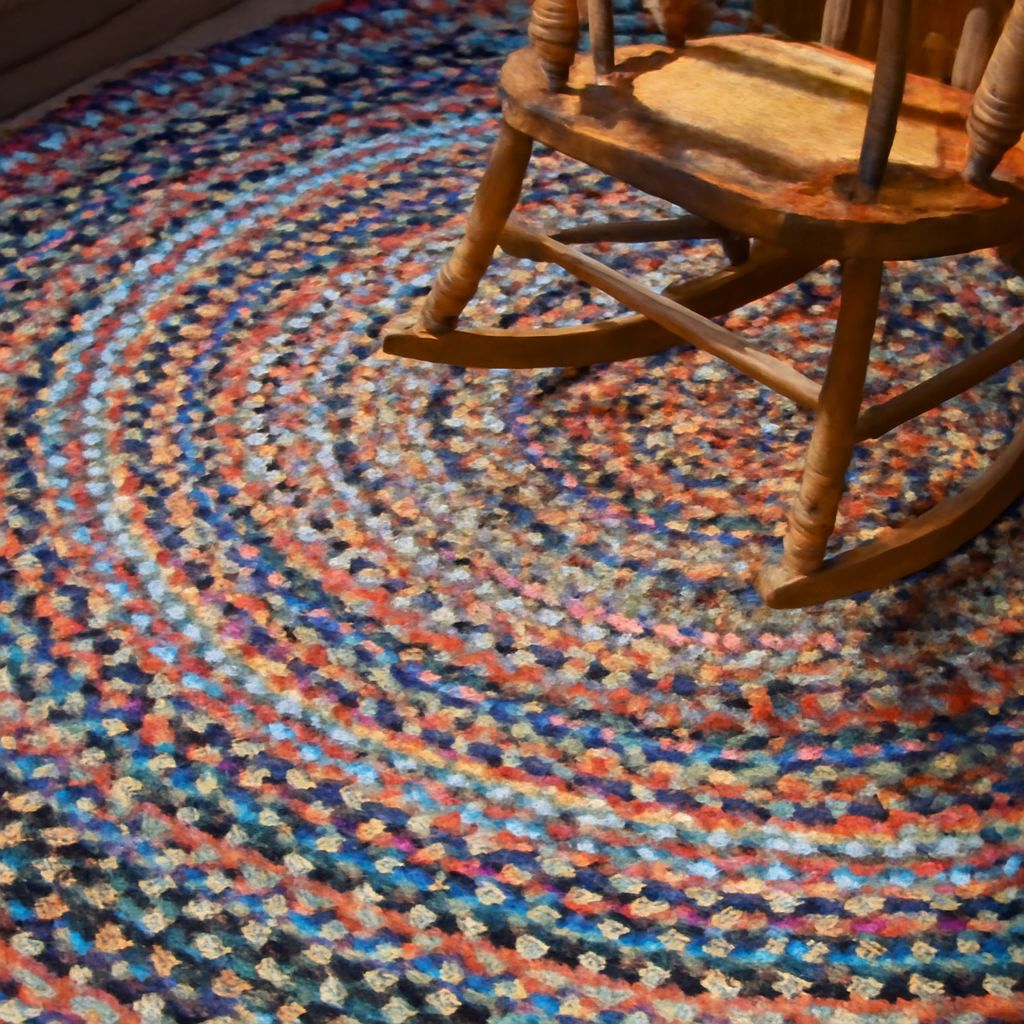
Making a rag rug is a satisfying way to upcycle old fabrics into a beautiful, functional creation for your home. Whether you’re interested in sustainable crafting or simply want a unique decor piece, this rag rug DIY method is beginner-friendly and adaptable to any style. Below, you’ll find detailed steps on how to make a rag rug, from choosing materials to finishing touches, so you can confidently create your own one-of-a-kind rug.
Materials and Tools
Gathering the right materials is the first step in successful rag rug making. Using items you already have keeps the process affordable and eco-friendly. Here’s what you’ll need:
- Fabric scraps: Cotton sheets, T-shirts, pillowcases, or any soft, washable textiles. Aim for around 2–4 pounds of fabric for a small rug.
- Scissors or rotary cutter: Sharp tools make cutting fabric strips easier and more uniform.
- Large safety pin or crochet hook: Essential if you choose a braided or woven technique.
- Thread and needle: For hand-sewn finishes, or a sewing machine for faster results.
- Non-slip rug pad (optional): Helps keep your finished rug in place on smooth floors.
Choose fabric colors and patterns that complement your space or create a vibrant, eclectic look. Mixing solids and prints adds visual interest. Avoid fabrics that fray excessively, such as loosely woven materials, unless you prefer a rustic finish.
Preparing Your Fabric
Proper preparation of your fabric ensures a consistent result and easier assembly. Follow these preparation steps:
- Wash and dry: Clean your fabric scraps before starting. This removes dirt and prevents shrinking later.
- Iron (if needed): Smooth wrinkles help with accurate cutting and even strips.
- Cut into strips: Use scissors or a rotary cutter to create strips 1–2 inches wide and 24–36 inches long. The width affects the rug’s thickness; thinner strips make a lighter, more delicate rug, while wider strips result in a chunkier texture.
- Join strips: If your fabric pieces are short, overlap the ends by about an inch and sew or knot them together. For a neater look, use an angled or diagonal join rather than a blunt edge.
Sort strips by color or pattern if you want to plan a design. Otherwise, mix them randomly for a classic, multicolored rag rug effect.
Step-by-Step Instructions
There are several techniques for making a rag rug, but the braided method is one of the most approachable for beginners. Here’s how to make a rag rug using the braided technique:
- Start the braid: Take three fabric strips and tie them together with a simple knot, leaving a few inches of a tail for finishing. Secure the knotted end under something heavy or clip it to a surface.
- Braid strips: Cross the right strip over the middle, then the left over the new middle, and repeat tightly but not so much that the braid curls. As you near the end of a strip, join a new one by overlapping and sewing or knotting as before.
- Form the rug shape: Begin coiling the braid into a spiral or oval on a flat surface. Use a needle and thread to stitch the inside edge of the braid to the previous round every few inches, working from the center outwards. Keep the rug flat by adjusting the angle as you sew.
- Continue braiding and sewing: Add more strips as needed and continue coiling and sewing until the rug reaches your desired size.
- Finish the end: Tuck the final ends of the braid under the rug and sew securely. Trim any stray threads or uneven fabric for a tidy finish.
If you prefer a different approach, consider the woven or crochet rag rug methods. The woven method uses a simple cardboard or hula hoop loom, while the crochet method requires a large crochet hook and basic chain and single crochet stitches. All three techniques make use of the same fabric preparation process.
Finishing and Care Tips
Proper finishing ensures your rag rug lasts through daily use. After your rug is complete, give it a gentle shake to remove loose threads and examine the stitches, adding reinforcement where needed. If you notice any uneven sections, gently stretch and shape them by hand before placing the rug on the floor.
To prevent slipping, add a non-slip rug pad underneath, especially if using the rug on hardwood or tile. This also helps extend the rug’s life by reducing friction.
For cleaning, most rag rugs can be machine washed on a gentle cycle with cool water. Let the rug air dry completely before returning it to the floor. Avoid harsh detergents or bleach, which can weaken fabric fibers. With regular care, your handmade rag rug will remain a colorful, cozy accent for years to come.