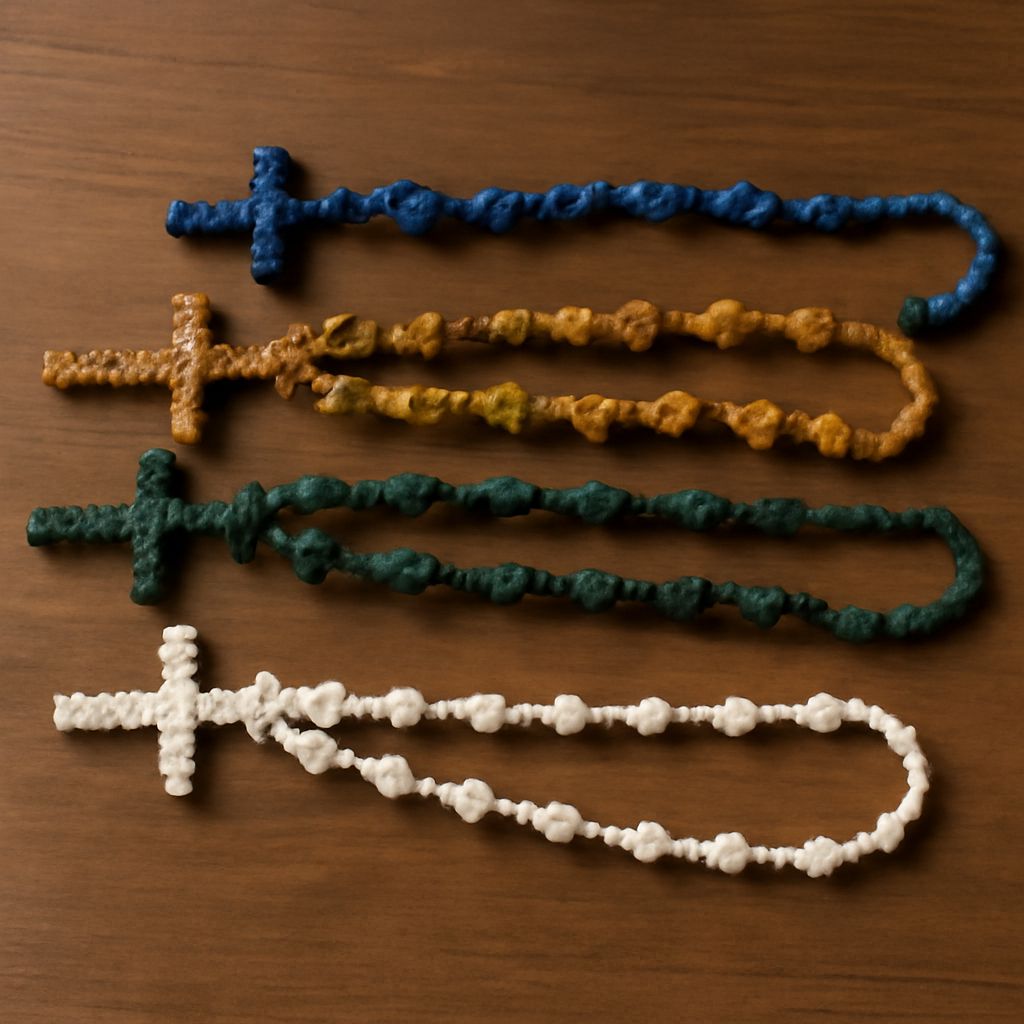
Making your own rosary can be a meaningful and rewarding craft, whether you’re seeking a personalized prayer tool, a heartfelt gift, or simply want to learn a traditional skill. This guide explains exactly how to make a rosary using beads and string, step by step. We’ll cover what you need, show you how to assemble rosary beads, and offer tips for creating a DIY rosary that’s as unique as your intentions.
Materials Needed
Before starting, gather all the supplies required for making a rosary with string and beads. The standard design uses 59 beads, but you can adjust the style or size to suit your preference. Here’s a complete list of what you’ll need:
- Beads: 53 for the Hail Mary prayers (commonly 6-8mm), 6 Our Father beads (slightly larger, 8-10mm is typical)
- String or Cord: Strong nylon cord, silk, or waxed cotton; cutting at least 40 inches gives you enough length for knotting
- Crucifix: A small crucifix or cross to attach at the end
- Centerpiece (optional): A connector piece, often a medal, to link the main loop with the pendant
- Bead stoppers or knots: To keep beads in place between prayers
- Scissors: For trimming string
- Tweezers or beading needle (optional): Helpful for threading smaller beads
The most traditional approach uses round glass or wooden beads, but you can choose any color or material that reflects your style or intention. For a durable prayer tool, select sturdy string and smooth, well-drilled beads.
Step-by-Step Instructions
This method demonstrates how to make rosary beads by hand, following the traditional five-decade structure. If you are learning how to make a rosary for the first time, follow these clear steps:
- Prepare your string: Cut about 40 inches of cord. If you prefer, use two strands for additional strength. Tie a secure knot about 4 inches from one end—this leaves enough room to attach the crucifix later.
- Thread the first five beads: Add one Our Father bead, followed by three Hail Mary beads, then another Our Father bead. These make the pendant section that leads to the main circle. Place a knot between each bead or use small spacers to keep them in place.
- Add the centerpiece (optional): Thread the string through the centerpiece medal if you are using one. Tie a knot to secure, then continue to the main loop. If you don’t have a centerpiece, simply form a closed loop after the pendant section.
- Create the main decades: Alternate ten Hail Mary beads with one Our Father bead. After each decade (ten Hail Mary beads), tie a knot or add a spacer, then insert an Our Father bead. Repeat this pattern five times to complete the circle.
- Finish and connect: Once you’ve added all five decades, bring the string ends together and tie a secure knot. If using a centerpiece, both string ends should meet at the medal. Use a strong double knot for durability.
- Attach the crucifix: Thread the string tail through the small hole or loop on your crucifix. Tie a sturdy knot, trim any excess string, and add a dot of clear glue for extra hold if you wish.
Check that all knots are tight and that beads move smoothly but stay separated. If you want to know how to make a rosary with string and beads that lasts, double-knotting and using quality materials is key.
Tips for Personalizing Your Rosary
Creating a DIY rosary lets you personalize your prayer beads in many ways. Choose bead colors that represent special meanings, occasions, or devotion—blue for Mary, red for the Sacred Heart, or green for hope. You might use birthstone colors for a birthday gift or select wooden beads for a rustic, classic look.
Consider different textures and finishes: matte, glossy, faceted, or natural wood. For a unique touch, add accent beads between decades, tiny medals, or small charms. You can also engrave the crucifix or use custom centerpieces to commemorate events or loved ones.
Experiment with different string types—leather cord for a rugged feel, satin for elegance, or paracord for durability. If making rosaries for children or groups, involve them in choosing colors and assembling, making the experience both educational and meaningful.
For those with limited dexterity, larger beads and thicker string make the process easier. Adapting the DIY rosary for special needs ensures everyone can participate in this meaningful craft.
Common Questions About DIY Rosaries
Can I use elastic string for my rosary? Elastic can be used but may not provide the traditional feel or durability. Nylon or waxed cotton is generally preferred for long-lasting use.
How do I keep beads from slipping? Place knots before and after each bead, or use small spacer beads. Strong knots are especially important for prayer beads that see daily use.
What size beads should I choose? Traditional rosaries use 6-8mm for Hail Mary beads and 8-10mm for Our Father beads, but adjust for comfort and style. Larger beads are easier for beginners or those with limited dexterity.
What’s the best way to finish the ends? Double knot the ends, trim excess string, and secure with a dab of clear glue for extra strength. Make sure the crucifix and centerpiece are securely attached before cutting any tails.
How long does it take to make a rosary? Most people finish their first rosary in 45–90 minutes, depending on experience and bead choice. Take your time—accuracy is more important than speed for a prayerful, lasting result.