A stretchy cast on is an essential knitting technique for projects that require flexible, comfortable edges. Perfect for cuffs, collars, hats, and socks, this cast on method ensures your finished piece maintains elasticity without feeling tight or restrictive. Whether you’re a beginner or an experienced knitter aiming for a polished finish, mastering a stretchy cast on can make a noticeable difference in your work.
What Is a Stretchy Cast On?
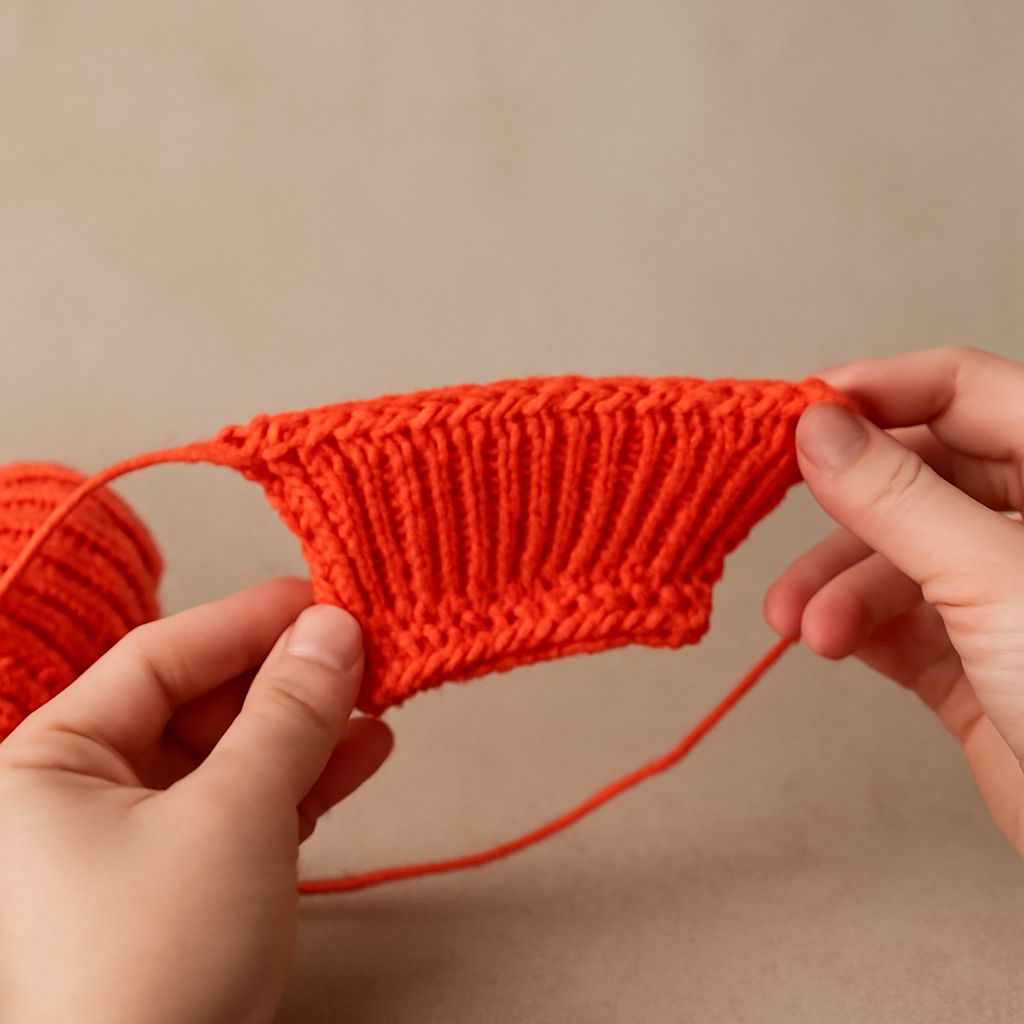
A stretchy cast on is a way to start your knitting so that the edge remains flexible, rather than firm or rigid. This is especially important for garments or accessories that need room to stretch, like sweater necklines, sock cuffs, or the edge of a beanie. Unlike traditional cast ons, a stretchy cast on adapts to movement and wear, helping your project maintain its shape and comfort over time.
There are several ways to achieve a stretchy cast on, with popular techniques including the long-tail cast on with modifications, the twisted German cast on, and specialty methods such as Jeny’s Stretchy Cast On. Each technique has its own benefits, but all share the same goal: to produce an edge that moves and stretches with the fabric.
Materials and When to Use a Stretchy Cast On
You’ll need only basic knitting supplies to practice stretchy cast on knitting methods:
- Yarn: Use the yarn called for in your pattern, typically the same weight you’ll use for the body of the project.
- Needles: Choose the size recommended for your project or yarn. Some knitters prefer to use a needle one size larger for the cast on edge to increase elasticity even further.
- Tapestry needle (optional): Useful for weaving in ends later on.
Stretchy cast ons are best suited for any project area that must expand and contract. Typical uses include:
- Cuffs for socks, sleeves, or mittens
- Necklines and collars
- Bottom edges for hats and sweaters
- Baby garments and accessories
Using a flexible edge prevents your knitting from digging into skin or restricting movement, resulting in a more comfortable and professional-looking finish.
Step-by-Step Guide: Basic Stretchy Cast On
The long-tail cast on is a classic method that can be modified for extra stretch. Here’s a basic approach:
- Measure your tail: Estimate a long enough tail (about one inch per stitch needed) to cast on all stitches required.
- Make a slipknot: Place it on your needle, holding the tail in your left hand and the working yarn in your right.
- Position your hands: Arrange your fingers in the “sling shot” setup—tail over your thumb, working yarn over your finger.
- Create the stitch: Bring the needle under the yarn on your thumb, then over to the yarn on your finger, pulling a loop through the thumb yarn.
- Transfer and tighten: Drop the loop from your thumb and tighten gently on the needle. Continue until you have the desired number of stitches.
- Increase stretch: For even more flexibility, work loosely or use a needle one size larger for the cast on row. Avoid pulling the yarn too tight at any step.
This method provides reliable elasticity for many projects, especially when executed with a relaxed tension.
Jeny’s Stretchy Cast On Explained
Jeny’s stretchy cast on is a modern technique designed to maximize flexibility while preventing flaring or loose loops. Developed by Jeny Staiman, it’s popular for toe-up socks, hats, and any edge needing extra give.
- Start with a slipknot on your needle.
- Hold the yarn as for a long-tail cast on.
- With your thumb, scoop up yarn from under the tail, but before transferring it to the needle, wrap the working yarn around the needle counterclockwise.
- Now place the thumb loop onto the needle, pulling both yarns to tighten gently.
- Repeat: Scoop with your thumb, wrap the working yarn, then place and tighten. Each time, this “double motion” builds in extra elasticity.
This technique creates an edge that stretches easily but rebounds well, perfect for ribbing or any pattern where comfort and fit matter most.
Tips for Success and Common Applications
Getting the most out of your stretchy cast on knitting involves some practice and a few practical tricks:
- Maintain even tension—avoid both overly tight and excessively loose stitches.
- Consider casting on over two needles or using a larger needle for extra room, especially with dense yarns.
- Test your edge by stretching it after casting on to ensure it moves easily.
- For projects with ribbing, align the cast on tension with your intended stitch pattern for a balanced look.
Common applications for a stretchy cast on include the cuffs of top-down socks, ribbed hat brims, sweater necklines, and anywhere a snug but flexible fit is needed. Jeny’s stretchy cast on shines for toe-up socks and any edge that sees frequent pulling. With these methods and tips, your knitting will stay both beautiful and comfortable, project after project.