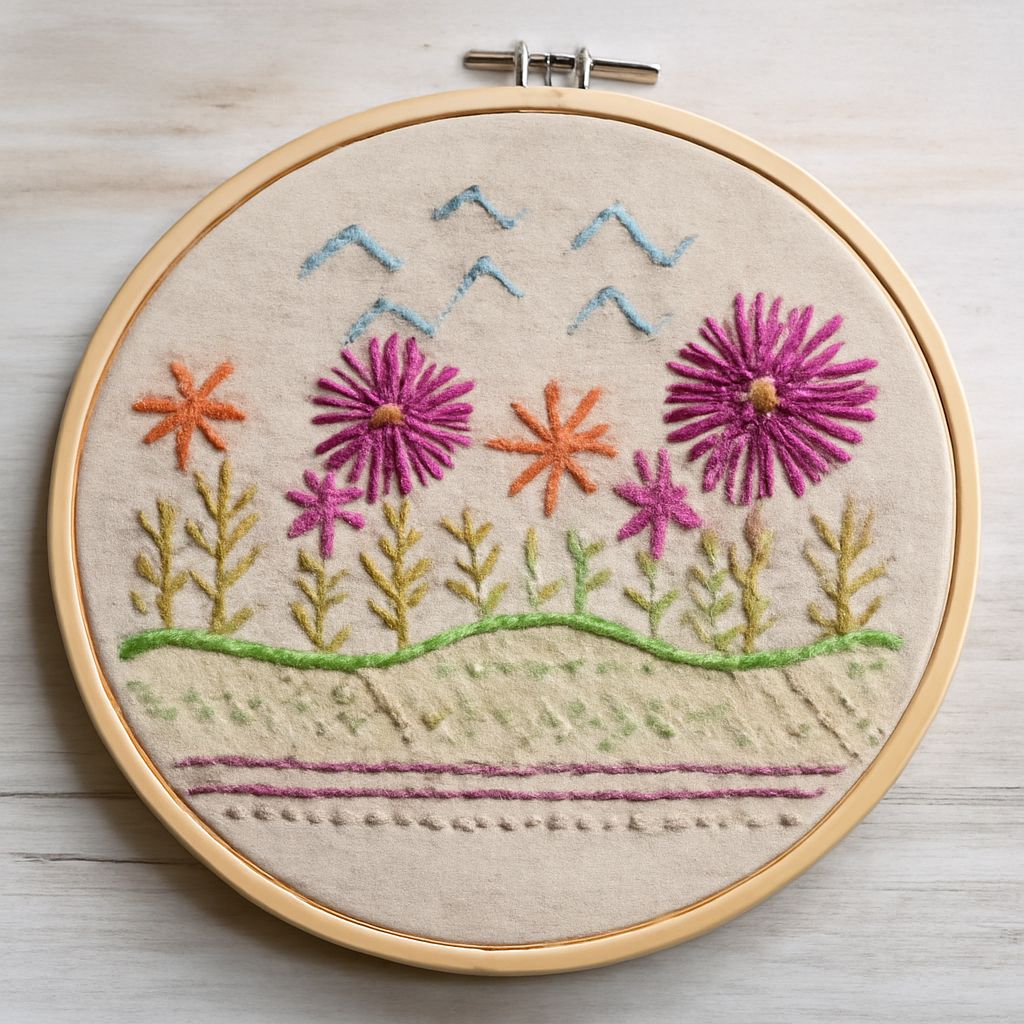
Embroidery is a delightful craft, offering a range of creative possibilities with just needle and thread. For those new to this art, understanding the basics is crucial. This embroidery stitch guide will introduce you to essential supplies and simple embroidery stitches, helping you build a solid foundation for your stitching projects.
Basic Embroidery Supplies
Before diving into stitching, gather the necessary supplies. Here’s what you’ll need:
- Embroidery Hoop: Keeps your fabric taut for easier stitching. Sizes vary, but a 6-inch hoop is perfect for beginners.
- Embroidery Needles: Typically, sizes 3-9 are ideal. They have a large eye to accommodate embroidery floss.
- Embroidery Floss: Available in a plethora of colors, choose high-quality cotton floss for best results.
- Fabric: Cotton or linen fabric works well for most projects.
- Scissors: Sharp, small scissors are best for trimming threads precisely.
- Water-Soluble Marker: Useful for marking your design on the fabric.
Essential Simple Stitches
As you begin your embroidery journey, mastering a few simple embroidery stitches is key. Here are the essential ones:
- Running Stitch: A basic stitch used for outlines and details. It involves passing the needle in and out of the fabric at regular intervals.
- Backstitch: Perfect for outlining and text. After each stitch, bring the needle up ahead and then pass back to the end of the last stitch.
- Satin Stitch: Used for filling shapes. Stitches are laid side by side closely, covering the fabric completely.
- French Knot: Adds texture and detail. Wrap the thread around the needle twice, then insert the needle back close to the entry point.
- Chain Stitch: Ideal for outlines and decorative lines. Loop the thread under the needle and pull through for each stitch.
Step-by-Step Stitch Guide
Let’s delve into how to execute these stitches. Follow these steps for a successful stitching experience:
- Prepare Your Fabric: Secure your fabric in an embroidery hoop. This ensures it remains taut and easy to work with.
- Transfer Your Design: Use a water-soluble marker to draw your design on the fabric.
- Thread Your Needle: Cut a length of embroidery floss and thread it through the needle. Knot the end to secure it.
- Start Stitching: Begin with the running stitch. Enter the fabric from the back and take small, even stitches following your design.
- Switch Stitches: As you gain confidence, incorporate backstitch and other techniques to add complexity to your design.
- Finish Off: When completing an area, secure your thread with a knot on the back of the fabric.
Tips for Perfecting Your Stitches
Embroidery requires practice and patience. Here are some tips to help you improve:
- Consistent Tension: Keep your thread tension even to avoid puckering the fabric.
- Practice Regularly: The more you practice, the more precise your stitches will become.
- Experiment: Don’t hesitate to try different threads and colors to see what works best for your project.
- Care for Your Materials: Store your threads and fabric in a cool, dry place to prevent damage.
With these basic techniques and tips, you’re well on your way to mastering the art of embroidery. Enjoy the process and watch your creativity unfold with each stitch.