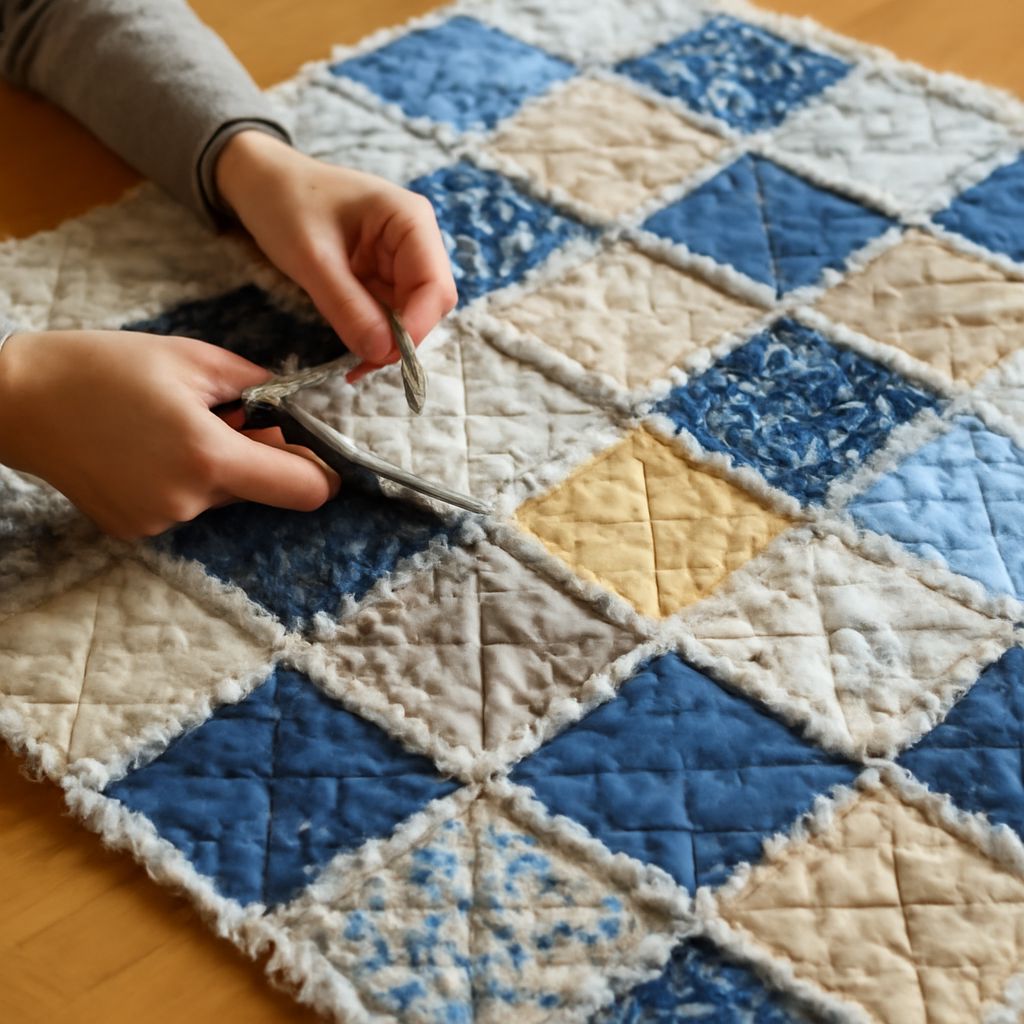
Crafting a rag quilt is an enjoyable and rewarding project for both beginner and experienced quilters. This step-by-step guide will walk you through how to make a rag quilt, from selecting the pattern to finishing touches. By the end, you’ll have a cozy and unique quilt to enjoy or gift.
Materials Needed
Before starting your rag quilt, gather the following materials:
- Fabric: Cotton or flannel works best. You’ll need three layers: top, middle (batting), and backing.
- Scissors or Rotary Cutter: For cutting fabric squares.
- Sewing Machine: Essential for sewing the squares together.
- Thread: Choose a durable thread that matches your fabric.
- Quilting Ruler: Helps in measuring and cutting fabric squares accurately.
- Pins: To hold fabric layers together while sewing.
Choosing a Rag Quilt Pattern
Selecting the right rag quilt pattern is crucial. Patterns can range from simple squares to more complex designs. Beginners may prefer starting with a basic checkerboard pattern using uniformly-sized squares. As you gain confidence, explore more intricate designs like pinwheels or diamond patterns. Ensure your fabric choices complement each other for a visually appealing quilt.
Step-by-Step Rag Quilt Tutorial
Cutting the Fabric
First, decide on the size of your squares. Common sizes are 5×5 or 8×8 inches. Use the quilting ruler and scissors or rotary cutter to cut equal numbers of squares from your chosen fabrics for the top, batting, and backing layers. For a throw-sized quilt, you might need around 48 squares for each layer.
Arranging the Squares
Lay out your fabric squares on a flat surface in the desired pattern. Arrange them to match your chosen rag quilt pattern, ensuring color balance and design consistency. It’s helpful to snap a photo for reference before moving on to sewing.
Sewing the Quilt
Layer each square with the backing on the bottom, batting in the middle, and top fabric on top. Pin these layers securely. Sew an X across each square to hold the layers together. Once all squares are sewn, start joining them. Place squares with the backing sides together and sew a 1/2-inch seam allowance on the outer edge. This seam will create the characteristic ragged edges. Continue connecting squares to form rows, then sew rows together to complete the quilt top.
Finishing Touches
After assembling your quilt, sew around the entire perimeter with a 1/2-inch seam allowance. Next, clip the exposed seam allowances every 1/4 inch, being careful not to cut through the stitching. This will enhance the ragged effect. Finally, wash and dry the quilt to encourage fraying along the seams, adding to its softness and appearance.
By following this rag quilt tutorial and pattern, you’ve crafted a beautiful, handmade quilt. Enjoy the warmth and charm of your new creation!