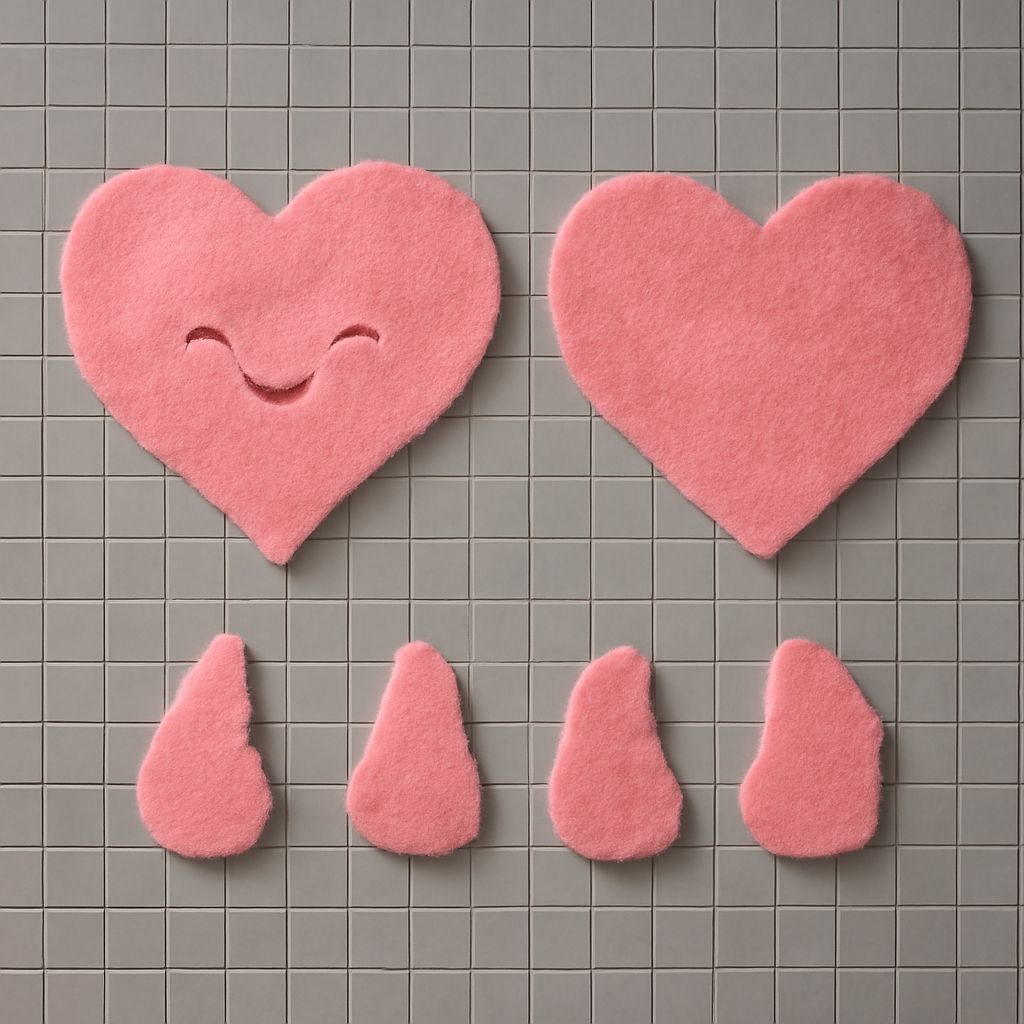
Creating plushie patterns is a delightful way to bring your creativity to life. Whether you’re a beginner or an experienced crafter, designing and sewing your own plush toys can be a rewarding process. This guide will walk you through the essential steps of crafting plushie patterns and using a plushie template to make your cuddly creations.
Materials Needed
Before you start creating your plushie patterns, gather the necessary materials. You’ll need:
- Fabric: Choose a soft material like fleece or cotton, depending on the plushie’s intended use and feel.
- Thread: Match the thread color to your fabric for a seamless look.
- Stuffing: Use polyester fiberfill or cotton stuffing for a plush feel.
- Sewing Needle or Machine: A sewing machine will speed up the process, but a needle can work for detailed parts.
- Scissors: Use sharp fabric scissors for clean cuts.
- Pins: Keep your fabric pieces aligned with sewing pins.
- Pattern Paper: Use tracing paper or a digital tool for creating your plushie template.
- Pencil or Fabric Marker: For marking the fabric where necessary.
Designing Your Plushie
The first step in creating plushie patterns is designing your plushie. Decide on the creature or object you want to make. Consider its size, shape, and any unique features it should have, such as ears, a tail, or wings. Sketch out your design on paper, focusing on the basic shapes and proportions. This sketch will serve as the blueprint for your plushie template.
Creating a Plushie Template
With your design in hand, it’s time to make the plushie template. Follow these steps to turn your sketch into a physical pattern:
- Trace the Outline: Use pattern paper to trace each part of your sketch, creating separate pieces for each section of your plushie, like the head, body, and limbs.
- Add Seam Allowances: Include a seam allowance of about 0.25 inches around each piece to ensure you have room for stitching.
- Cut Out the Pieces: Carefully cut out each pattern piece from the paper. Label them to avoid confusion during assembly.
- Transfer to Fabric: Pin the paper templates to your chosen fabric. Trace around the paper with a fabric marker and cut out the fabric pieces.
Sewing and Assembling
With fabric pieces ready, you’re set to bring your plushie to life. Here’s how to sew and assemble:
- Pin and Sew: Align the fabric pieces, right sides facing each other. Pin them together and sew along the edges, leaving a small opening for stuffing.
- Turn and Stuff: Turn the sewn pieces right side out. Use stuffing to fill the plushie, ensuring even distribution for a consistent shape.
- Close the Opening: Once stuffed to satisfaction, sew the opening shut with an invisible stitch for a neat finish.
- Add Details: Attach any additional features like eyes, noses, or decorative elements to complete your plushie.
By following these steps, you can create plushie patterns and templates with ease, allowing your imagination to take shape in a cuddly form. Happy crafting!