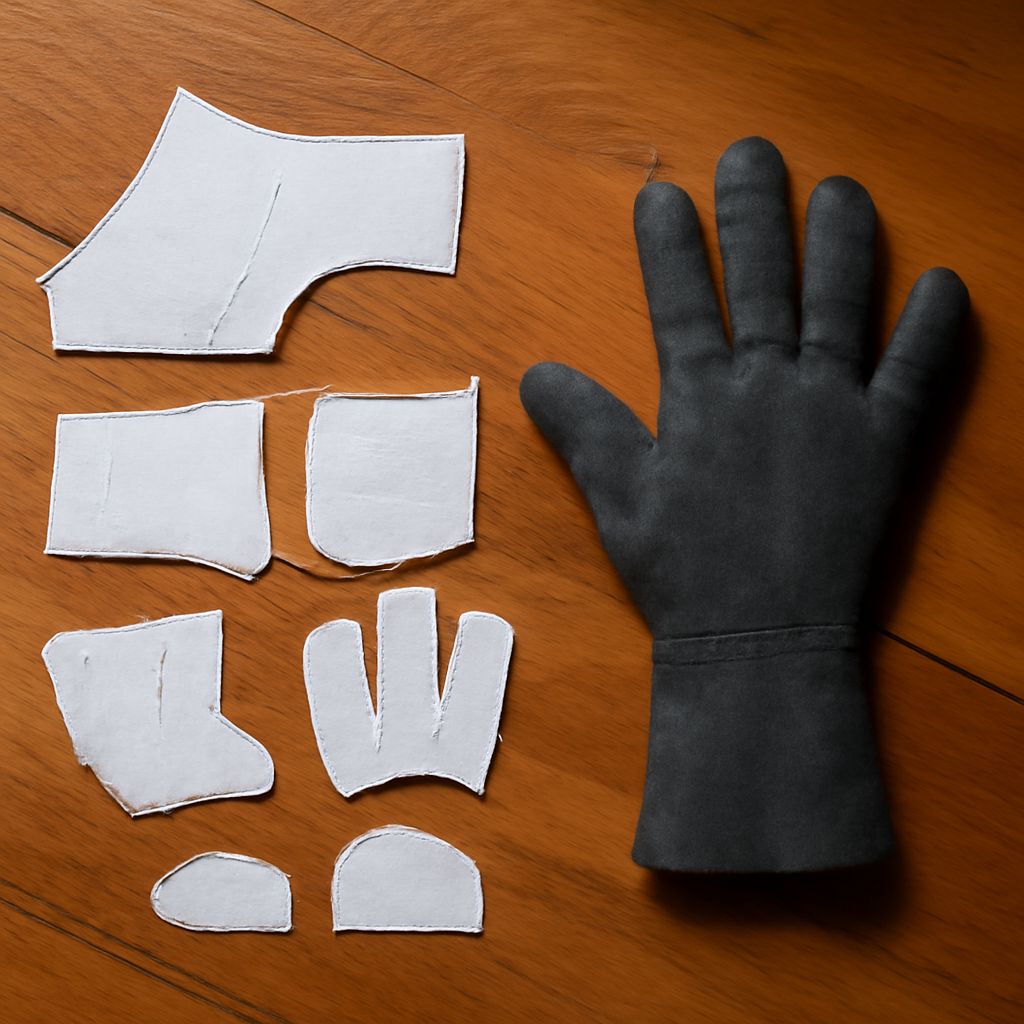
Build one forearm bracer before attempting a full costume. This manageable component teaches the complete cosplay armor workflow: patterning, EVA-foam transfer, shaping, assembly, sealing, painting, and attachment.
Use 5–6 mm EVA foam, craft paper, a sharp utility knife, contact cement, flexible sealant, paint, and 25 mm webbing with a side-release buckle or hook-and-loop tape.
Choose a bracer and test cosplay armor patterns on paper
Measure the forearm over the sleeve you will wear. Record wrist circumference, widest forearm circumference, and the distance between them. Keep the opening loose enough for movement.
- Draw a tapered rectangle that matches those measurements, adding 10–15 mm of overlap for the closure. Mark the wrist and elbow ends.
- Cut the paper shape, wrap it around your arm over clothing, and tape the seam. Check that you can bend your wrist and slide your hand free.
- Resize the pattern by trimming the seam for a smaller fit or adding a centered strip for a larger one. Re-test the paper before changing the foam.
- Mark a centerline and label matching seam edges A-A and B-B. Clear labels prevent reversed panels during assembly.
Never pattern directly against bare skin with tape or rigid materials. A paper mockup over a thin sleeve gives a safer, more useful fit check.
Transfer, cut, bevel, and heat-shape cosplay armor foam
Trace the approved pattern onto cosplay armor foam with a ballpoint pen. Transfer all centerlines and seam labels, then cut on a firm mat.
- Hold the knife vertical for edges that must meet squarely. Use several light passes instead of forcing one deep cut.
- Bevel exposed outer edges at roughly 30–45 degrees, keeping the blade angle consistent. Do not bevel labeled joining edges unless the pattern specifically requires it.
- Warm the foam with a heat gun on low or medium, moving constantly. Heat both sides until the surface becomes slightly flexible; do not scorch, gloss, or hold heat near your body.
- Curve the piece around a bottle, forearm form, or other rounded mandrel. Hold it until cool, then test it over your sleeve. Reheat and adjust if the ends spring away.
Heating after cutting preserves accurate seams. A darkened surface, shrinking edge, or sharp odor means the foam has overheated.
Cosplay armor tutorial: contact cement, reinforcement, and fit checks
Dry-assemble the shaped bracer with masking tape first. Wear it and check wrist movement, forearm clearance, overlap, and access to the closure before making permanent joins.
- Lightly roughen only the joining edges. Brush a thin coat of contact cement onto both mating surfaces.
- Allow the adhesive to become tacky, usually after 5–10 minutes according to its label. Touch lightly; it should grab without transferring wet glue.
- Align the A-A edges first, starting at one end and pressing gradually toward the other. Contact cement bonds immediately, so avoid stretching the foam.
- Recheck the fit after each seam. Reinforce the inside with a narrow foam strip or flexible fabric glued across the seam, while keeping the outer surface smooth.
Trim stray adhesive only after it cures. If a seam opens, separate it cleanly, apply fresh cement to both sides, and let it become tacky again.
Seal with flexible paint layers and add a strap closure
Before finishing, lightly heat-seal the surface if needed, then wipe away dust. Seal the foam with two or three thin coats of flexible sealant, allowing each coat to dry fully.
- Apply flexible primer or paint in several thin layers rather than one heavy coat. Thick paint cracks when the bracer bends.
- Let the base color dry, then add contrasting edge paint, shading, or dry-brushed highlights. Keep every layer flexible.
- Cut two short webbing tabs and glue or sew them to reinforced inside areas near the opening. Add a side-release buckle for adjustability, or use overlapping hook-and-loop tape.
- Test the closure over your costume sleeve. It should hold the bracer securely without pinching or restricting wrist movement.