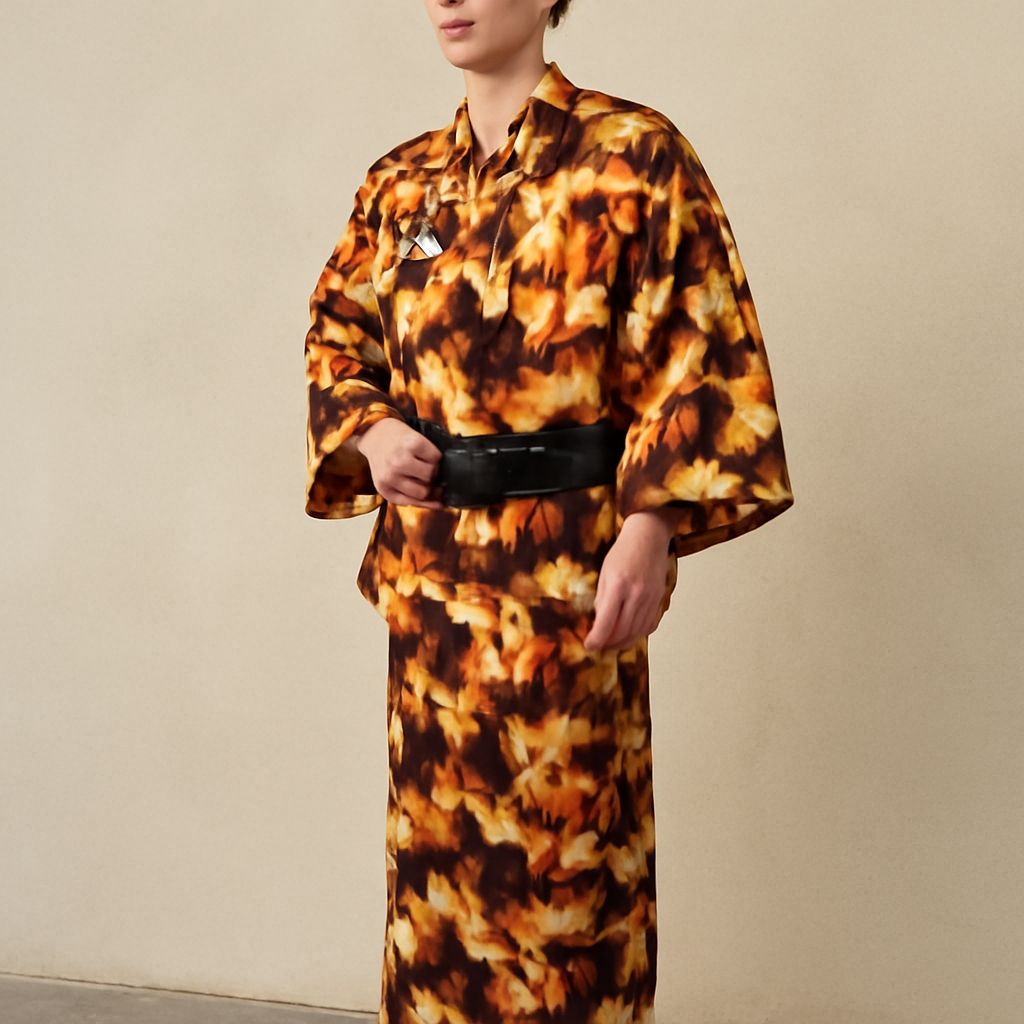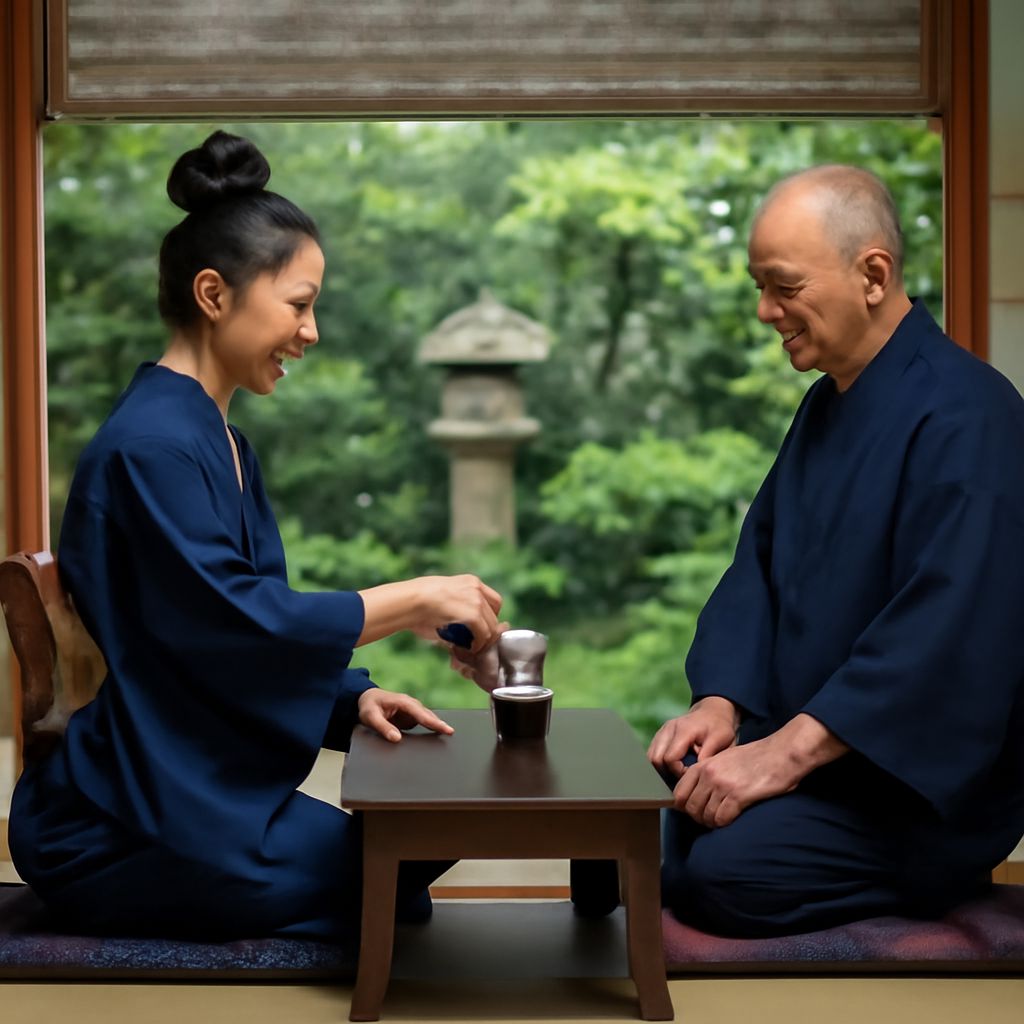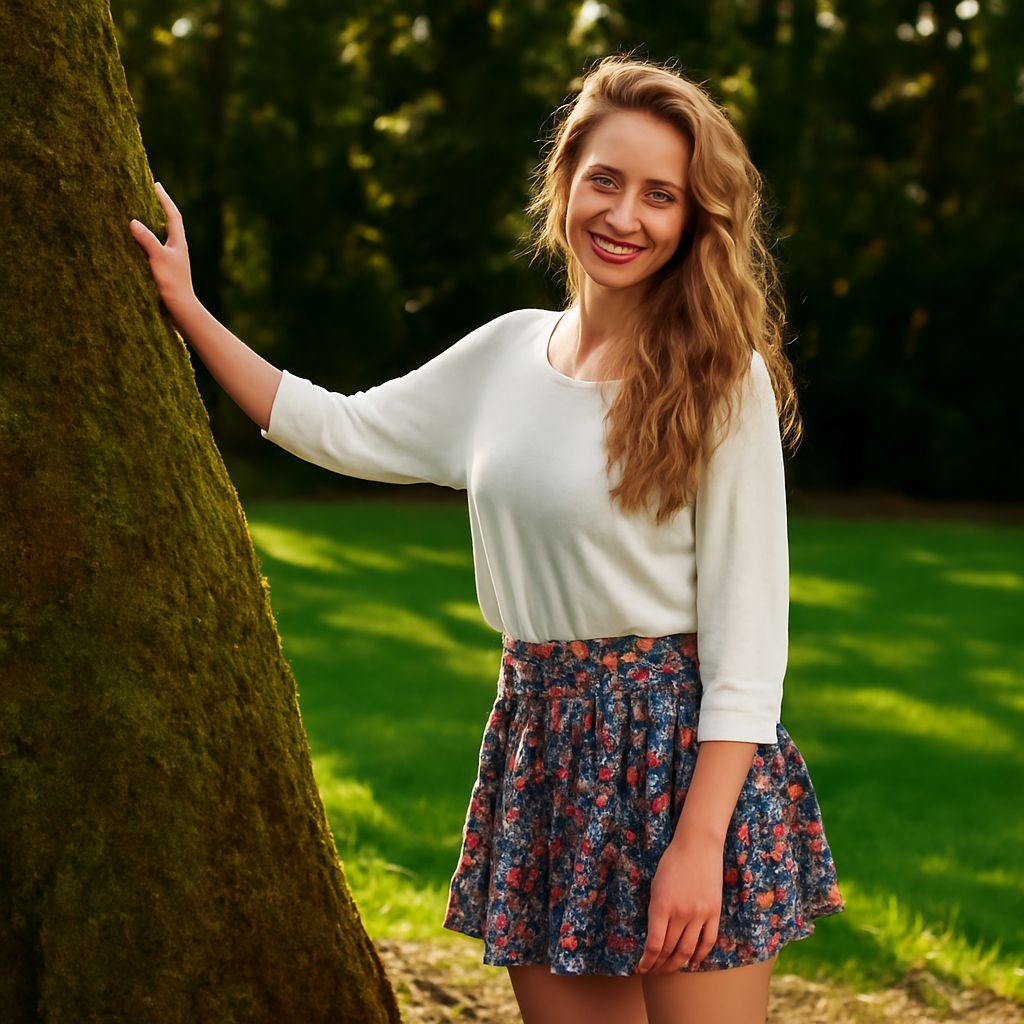
Outdoor fashion photography becomes more controlled when the environment serves the clothing, not merely the model. Scout for a clean setting, decide how sunlight will shape the fabric, then build movement around the garment’s structure.
A strong session should reveal fit, texture, silhouette, and styling in several frame sizes. Start with one dependable portrait setup before chasing dramatic scenery or changing light.
Choose a Location for Outdoor Fashion Photography: Backgrounds, Space and Contrast
Choose a location by looking through the camera at the model’s height. The setting should support the collection’s mood without competing with its lines or materials.
- Background: Use a plain wall, quiet path, textured concrete, or orderly architecture when the clothing has strong detail. Keep busy scenery for simple garments.
- Walking space: Allow several clear steps in each direction. Check for level ground, safe turns, and enough room for long coats, skirts, or flowing trousers.
- Color contrast: Pair pale clothing with darker, muted surfaces and saturated garments with restrained backgrounds. Avoid colors that merge with the outfit.
- Distractions: Remove poles, signs, parked cars, bright litter, and branches that appear to grow from the model’s head. Check the edges of every frame.
Photograph one test frame before committing. If the background hides a hemline or breaks the silhouette, move the model or change the angle rather than relying on a crop.
Read and Shape Outdoor Light: Front, Side and Back Light
Observe the sun’s direction before styling the first look. Light placement changes how fabric color, texture, and body shape appear.
- Front light gives an even face and readable garment color. Use it for clean catalog-style frames, but watch for squinting and flat texture.
- Side light adds depth to pleats, knitwear, leather, and tailoring. Turn the model slightly toward the brighter side when facial shadows become too hard.
- Back light creates separation around hair and translucent fabric. Expose for the face, then use a reflector to lift the front of the outfit.
Open shade beside a building provides softer contrast while preserving directional light. A white reflector brightens shadows naturally; silver adds more intensity, while a black surface deepens shape. On a bright day, place the model just inside shade and keep the background from becoming much brighter than the subject.
Set the First Portrait Composition and Direct Poses for Photography
Begin with a vertical, eye-level frame that includes the face and the garment’s key construction. For portrait photography, keep the camera far enough away to avoid distorting the body, then adjust the crop for the collar, waist, and hem.
- Standing: Place one foot slightly forward, shift weight onto the back leg, and keep one hand touching a seam, pocket, belt, or lapel. This shows fit without stiffening the pose.
- Walking: Ask for three relaxed steps toward the camera, then repeat away from it. Capture the moment when fabric separates naturally, rather than asking for an exaggerated stride.
- Turning: Start facing away, then turn the shoulders before the hips. This reveals the back construction and creates movement in coats, skirts, and wide-leg trousers.
- Seated: Use a low wall or broad step. Keep the spine long, angle the knees, and arrange hems deliberately so the garment does not bunch.
Capture a Varied Sequence: Full Outfit, Portrait, Detail and Environmental Frames
Use a compact shot list for every look, capturing each category before changing location or light:
- Full outfit: Make one straight-on frame and one three-quarter frame showing the complete silhouette.
- Portrait: Photograph a mid-length and closer frame with the face, neckline, and upper garment clearly visible.
- Detail: Capture fabric texture, fastenings, footwear, jewelry, cuffs, pockets, and any distinctive construction.
- Environmental: Place the model within the location for one wider image, keeping the clothing readable against the scene.