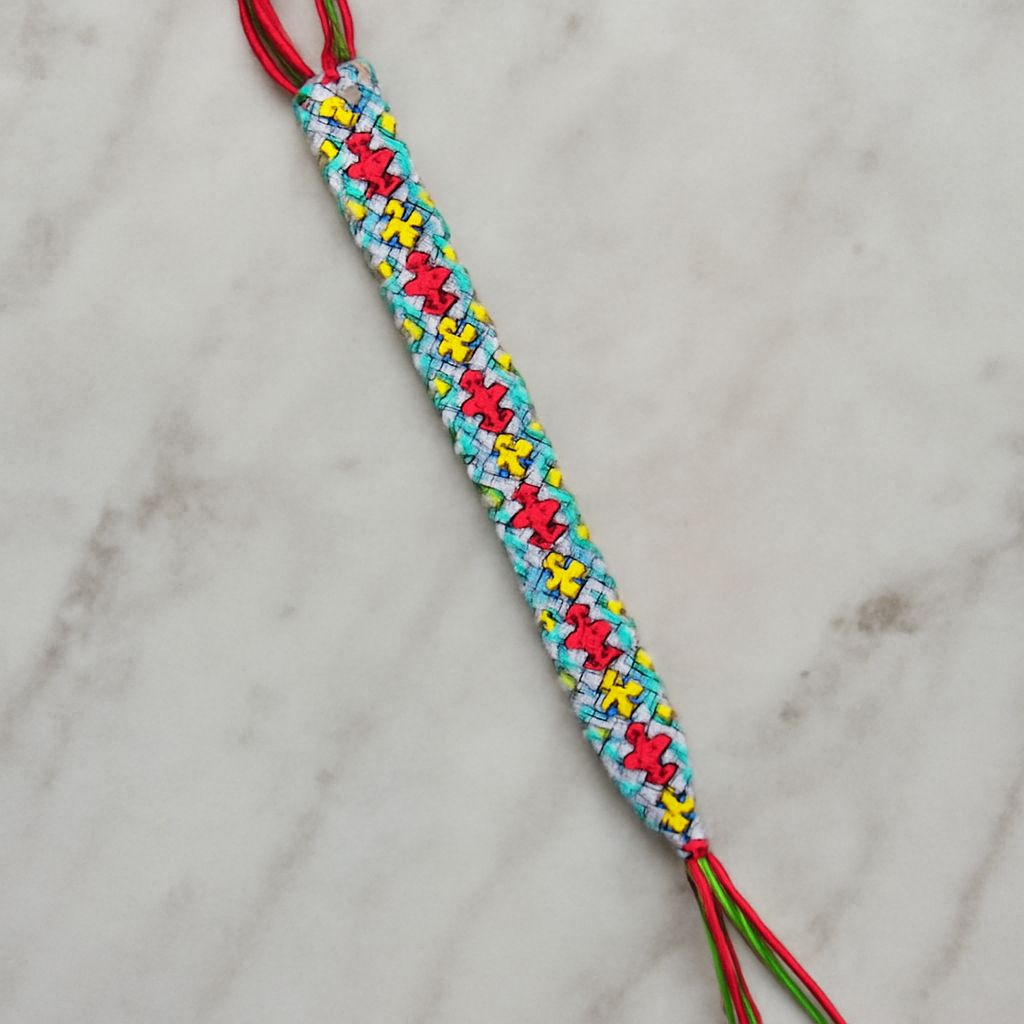
Friendship bracelets are a timeless craft, and learning the basic friendship bracelet knots is the key to creating beautiful designs. Among these, the forward knot is the foundational technique for most beginner and advanced patterns. Mastering the forward knot opens up endless possibilities for personalizing bracelets with unique colors and styles. This guide covers the essential supplies, explains the forward knot, provides step-by-step instructions, and shares creative pattern ideas to try with your new skills.
Essential Supplies for Friendship Bracelet Knots
Getting started with friendship bracelet knots doesn’t require a lot of materials. Having the right supplies on hand will make your experience smoother and your bracelets look more polished. Here’s what you’ll need:
- Embroidery Floss: Choose at least two colors to practice with. Most bracelets use six-strand cotton embroidery floss for its durability and vibrant hues.
- Scissors: Sharp craft scissors ensure clean cuts and prevent fraying.
- Tape or Clipboard: Use tape to secure your bracelet to a hard surface, or a clipboard to keep it stable while you work. Some prefer using a safety pin to attach their bracelet to a cushion or jeans.
- Ruler or Measuring Tape: Measure out strands to about 24–36 inches for most bracelets. Adjust the length depending on wrist size and pattern complexity.
Optional supplies include beads or charms for added decoration. Some crafters also use a comb to keep strands untangled as they knot.
Understanding the Forward Knot
The forward knot is the most essential knot in friendship bracelet making. This basic movement creates the building block for numerous bracelet patterns, including the popular diagonal stripe. A forward knot is made by tying one strand over another in a consistent, left-to-right direction. When repeated, the forward knot builds rows of color in a neat pattern.
Friendship bracelet knots like the forward knot are useful because they’re simple to learn and can be combined in sequences for complex designs. Knowing how to tie a forward knot gives you confidence to try more advanced knots and patterns. If you can master this knot, you’ll have a solid foundation for nearly any friendship bracelet project.
The forward knot also helps keep your bracelet even and tight. It’s important to use a consistent tension—too loose and the bracelet will look messy; too tight and it may curl or become difficult to work with. Practicing this knot is the first step toward consistent, professional-looking results in every bracelet you make.
Step-by-Step: How to Tie a Forward Knot
Follow these steps to practice tying a forward knot correctly. It’s helpful to use two different colored strands at first for clear visibility.
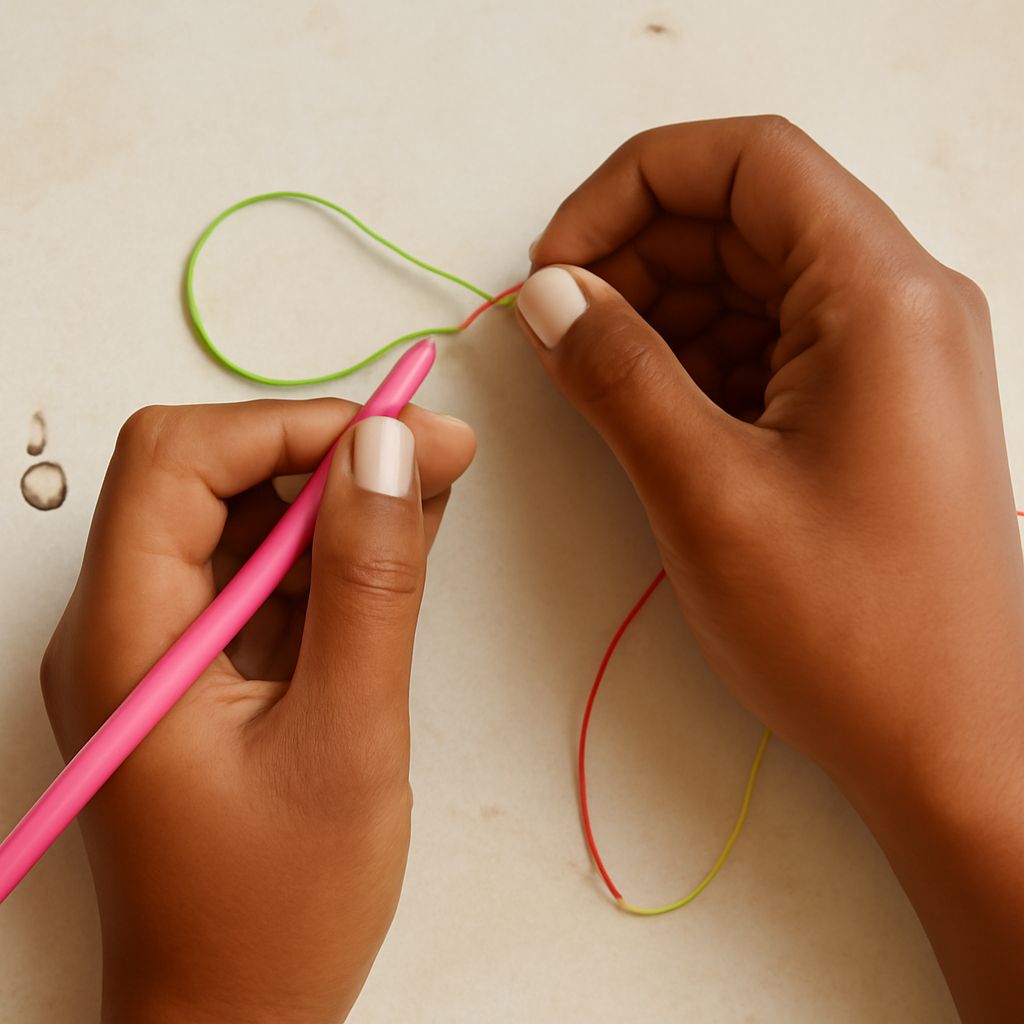
- Arrange Your Strands: Secure the ends of your embroidery floss with tape or a clipboard. Lay your working strand (the strand doing the knotting) to the left and the base strand (the strand being knotted around) to the right.
- Form a “4” Shape: Place the working strand over the base strand, making the shape of the number “4.”
- Loop and Pull: Pass the end of the working strand under the base strand and through the loop of the “4.”
- Tighten: Pull the working strand up and to the right, sliding the knot snugly to the top. This completes one half of the forward knot.
- Repeat: For a full forward knot, repeat steps 2–4. Each complete knot consists of two identical half-knots tied in succession.
Keep practicing this procedure, making sure your knots are even and secure. As you gain confidence, add more strands and try creating rows of forward knots for striped patterns.
Creative Pattern Ideas Using Forward Knots
Once you’re comfortable with the forward knot, you can experiment with a variety of friendship bracelet patterns. Here are some inspiring ideas to start with:
- Diagonal Stripe: Use only forward knots across multiple strands to create a bold, slanted stripe pattern. This is the classic “candy stripe” bracelet.
- Chevron: Combine forward knots on the left side and backward knots on the right side to form an arrow or V-shaped motif. The forward knot is crucial for half the chevron’s symmetry.
- Polka Dot: Alternate forward knots with different colored strands to create dotted designs. This pattern pops with high-contrast thread choices.
- Ombre Fade: Arrange your floss in a gradient of shades and use rows of forward knots to blend colors from light to dark for a modern look.
Experiment with bead accents or metallic floss for extra sparkle. Mastering the forward knot empowers you to explore endless design possibilities and make each bracelet unique to you or your friends.