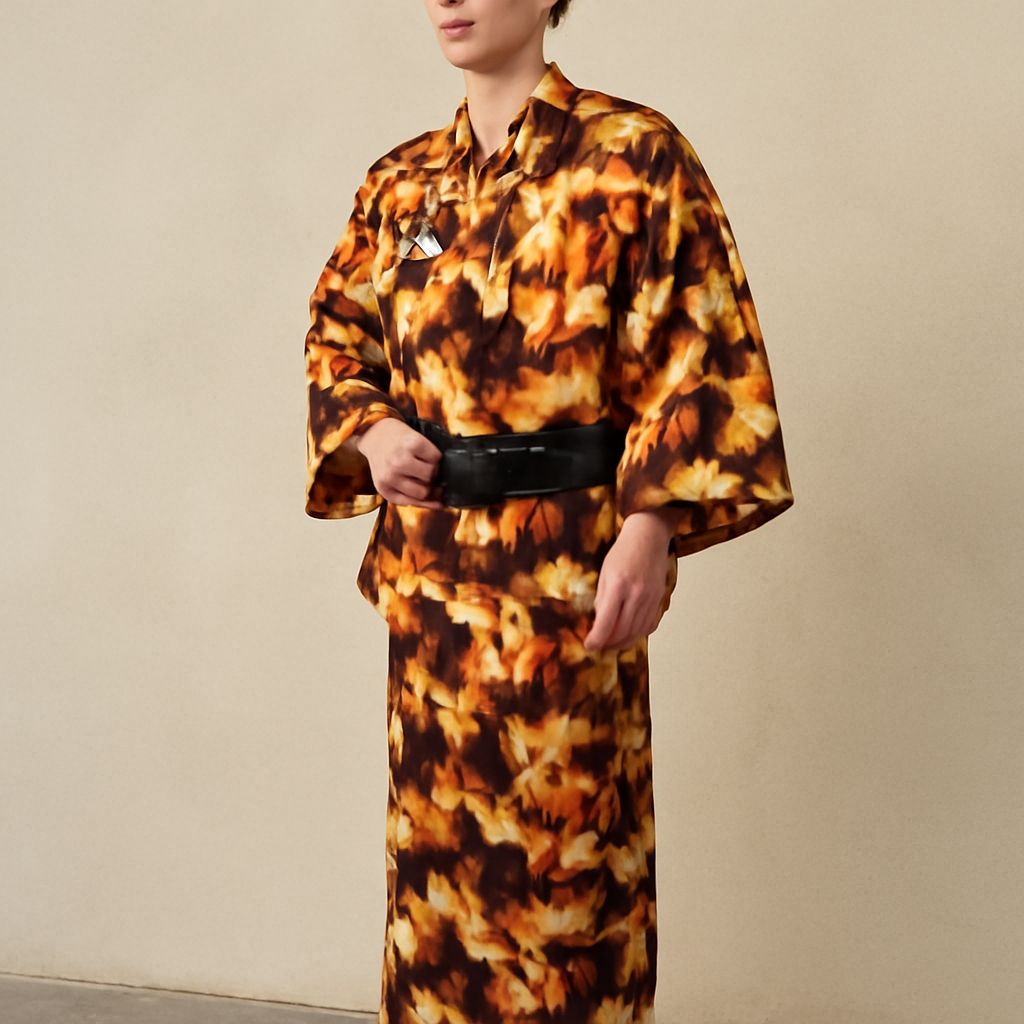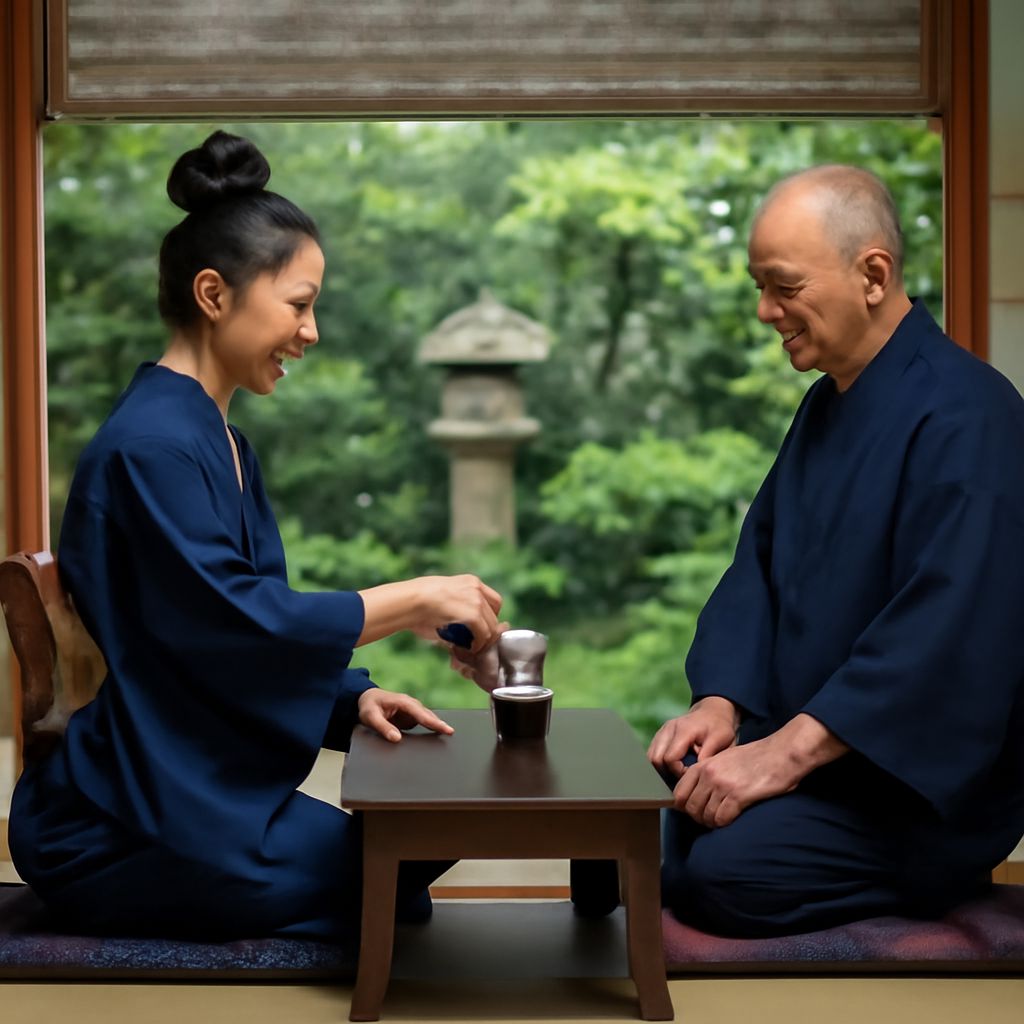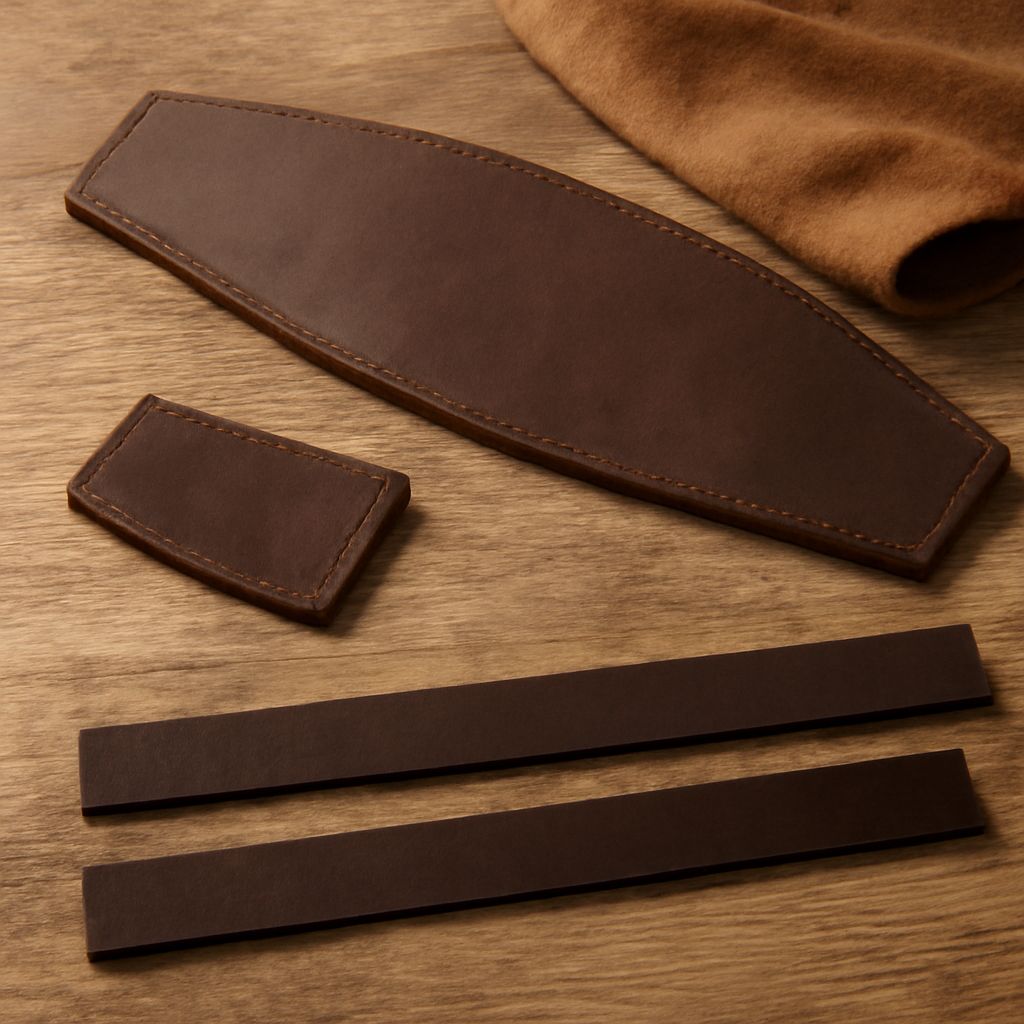
Learn how to make an obi belt with this reversible hanhaba project, then tie the finished belt into a secure bunko bow. The method suits an informal kimono or yukata and uses enough length for two waist wraps plus the bow.
You will form the knot at the front, where you can see each fold, then rotate it to the back. Keep the obi flat throughout so the finished bow stays level.
How to Make an Obi Belt: Choose Dimensions and Fabric
Set 15–17 cm × 3.5–4 m finished dimensions
Use a finished hanhaba obi approximately 15–17 cm wide and 3.5–4 m long. This half-width size provides two waist wraps and enough remaining length for a bunko bow. For a 16 cm by 3.6 m obi, cut two fabric panels about 18 cm wide and 3.62 m long, allowing 1 cm seam allowances on every edge.
Join strips and interface suitable fabric
If your fabric is not wide or long enough, join strips end to end with strong, pressed seams before cutting the panels. Choose stable cotton, linen, or a medium-weight blend. For thin or slippery fabric, fuse lightweight interfacing to the wrong side of one or both panels. Avoid bulky interfacing, which makes wrapping and folding difficult.
Use this method only for an informal hanhaba obi
This construction and knot are for an informal hanhaba obi worn with a yukata or casual kimono. Wider Nagoya and fukuro obi, formal knots, and martial-arts belts require different construction or tying methods.
Sew and Press the Reversible Hanhaba Obi
Sew, turn, and close the long rectangle
- Place the two panels right sides together and align their edges.
- Sew both long edges and one short edge with a 1 cm seam allowance. Leave a 10–15 cm opening in the remaining short edge.
- Trim bulky corners, turn the rectangle right side out, and gently push out each corner.
- Fold the opening’s raw edges inward, then close it with a neat slip stitch or close topstitching.
Press the obi flat and remove wrinkles
Press from the center outward, using the fabric’s safe heat setting. Keep both long edges straight and the reversible layers smooth. A flat obi folds into a cleaner bow; ripples usually indicate uneven pressing, twisting, or too much bulk.
How to Tie an Obi: Wrap and Cross the Ends
Start with the correctly closed kimono or yukata
Put on the kimono or yukata first and close it correctly, with the left front crossing over the right for a living wearer. Hold the obi with its top edge level at your natural waist.
Place the short end and wrap twice
Place the short end at your right front, leaving approximately 40–50 cm hanging. Hold this tail vertically while bringing the long end across the front, around your back, and across the front again. Make two complete wraps. Keep the fabric smooth, aligned, and completely untwisted.
Tighten the crossed ends at the front without twisting
At the front, cross the long end over the short end and pull both ends firmly enough to secure the wraps without restricting your breathing. The long end should remain free for the bow, while the short end becomes its center band.
How to Tie an Obi Belt: Form and Rotate the Bunko Bow
Fold the long end into a front bunko bow
Hold the crossing point securely. Fold the free long end back and forth into two or three broad, flat loops, creating an accordion shape. Make the loops similar in size, then pinch their center to form a compact bow.
Bind the center with the short end and tuck it securely
Bring the short end horizontally across the pinched center. Wrap it around the bow’s center once or twice, then pass its remaining tip down behind the knot or under the obi’s upper edge. Pull the band snugly, but do not crush the loops. If the bow slips, the center wrap needs more tension or a deeper tuck.
Rotate the finished knot clockwise and level it at the back
Support the bow with both hands and rotate the entire obi clockwise around your waist to the back. Do not twist the bow separately. Center the knot, level its top and bottom edges, spread the loops evenly, and check that the tucked tail cannot work loose.