The ladder stitch is an essential hand-sewing technique used to create nearly invisible seams when closing fabric openings. Whether you’re finishing a stuffed toy, hemming garments, or repairing cushions, mastering how to do a ladder stitch gives your projects a professional, seamless look. This ladder stitch tutorial will walk you through the supplies, steps, and tricks for flawless results.
What Is a Ladder Stitch?
A ladder stitch, sometimes called an invisible or slip stitch, is a hand-sewing method for joining two fabric edges so the seam is hidden from the outside. Unlike a running or whip stitch, the ladder stitch weaves thread back and forth between folded edges, forming “rungs” that disappear when the seam is pulled closed. It’s most often used to finish the final opening on pillows, plush toys, linings, or repairs where you don’t want visible stitches.
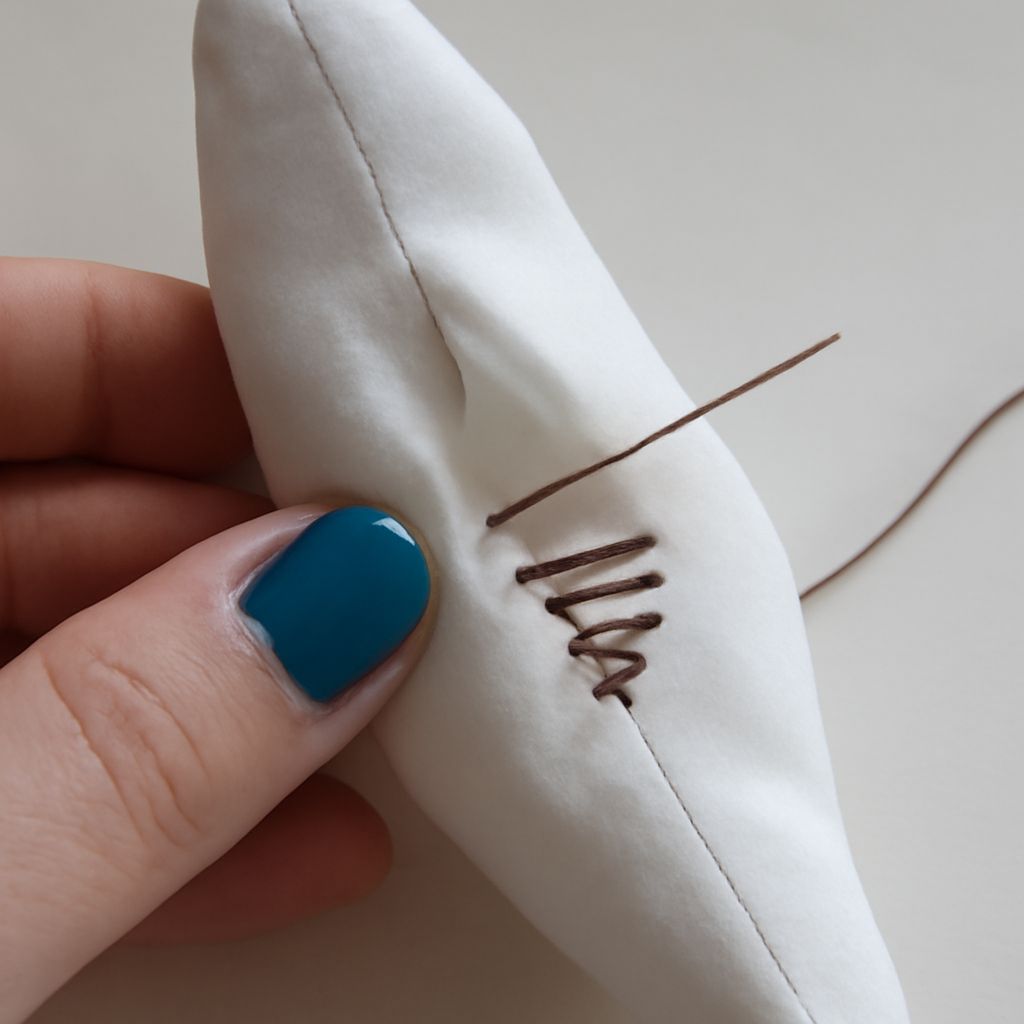
The name comes from how the thread looks as it zigzags between fabric edges, forming a shape similar to the rungs of a ladder. With a little practice, your stitches will be almost invisible, blending perfectly with your fabric.
Supplies You’ll Need
To complete a ladder stitch, gather the following supplies for best results:
- Hand-sewing needle: Choose a sharp, fine needle suitable for your fabric’s weight.
- Thread: Use all-purpose or matching thread. For delicate fabrics, use finer thread; for thicker fabrics, use a stronger thread.
- Scissors: Sharp embroidery scissors help trim thread cleanly.
- Pins or clips: These hold your seam edges together while you sew.
- Fabric to close: This stitch works on any fabric with a seam opening (pillows, soft toys, linings, etc.).
- Optional: A thimble can help protect your finger when pushing the needle through thicker layers.
Having these items at hand will make your ladder stitch process smooth and efficient.
Step-by-Step Ladder Stitch Tutorial
Preparing Your Fabric
Begin by turning your fabric piece right side out so the seam allowance is tucked inside. This is especially important for toys and pillows. Fold the raw edges of the opening inward by about 1/4 inch (6 mm) to conceal them. Press the folded edges gently with your fingers or an iron for a crisp crease. Align both folded edges so the opening is evenly matched, then pin or clip the edges together to prevent shifting as you sew.
Stitching the Seam
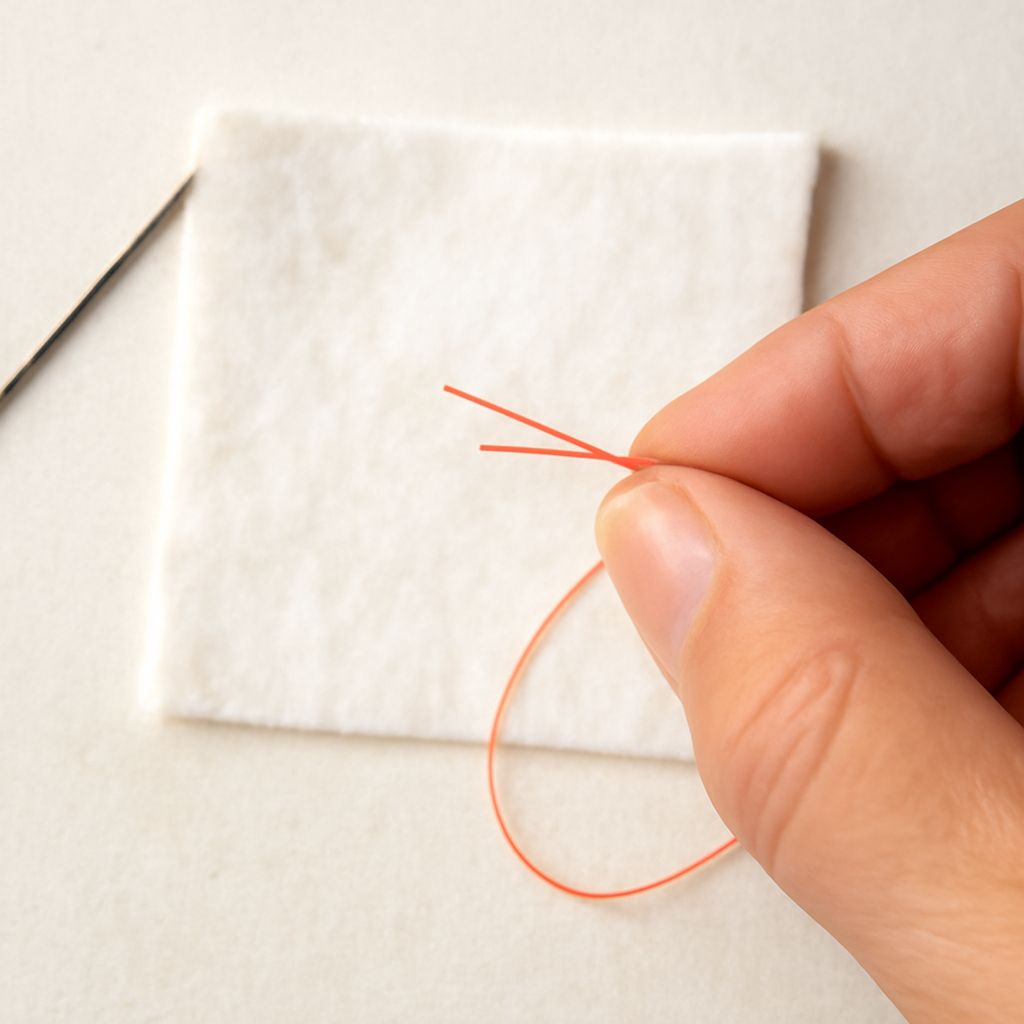
Thread your needle with about 18-24 inches (45-60 cm) of thread, knotting the end. Insert the needle inside the fold of one edge, hiding the knot between the fabric layers. Pull the needle through until the knot is secure.
Next, insert the needle directly opposite into the fold of the other fabric edge, about 1/8 inch (3 mm) away from your starting point. Pull the thread gently through. Return the needle to the first side and make another small horizontal stitch in the fold, parallel with your last entry point. Continue alternating sides, always inserting the needle into the folded edge directly across from the last stitch. As you progress, the stitches will form a ladder-like series between the fabric edges.
Finishing and Securing the Stitch
After sewing along the length of the opening, gently pull the thread to close the seam. The ladder stitches will draw the two fabric folds tightly together, hiding the seam and thread. To secure your work, make a small knot: insert the needle under the last stitch, pull up a loop, and pass the needle through the loop to form a knot. Pull tight, then hide the knot by inserting the needle into the seam and bringing it out an inch away. Trim the excess thread close to the fabric for a clean finish.
Tips for a Neat Ladder Stitch
For best results, follow these tips when working a ladder stitch:
- Keep your stitches small and even, about 1/8 inch (3 mm) apart, for a truly invisible seam.
- Use a thread color that closely matches your fabric for the least visible result.
- Firmly crease the folded edges before sewing to make it easier to follow the seam line.
- Pull the thread gently to avoid puckering the seam, but tight enough to close the opening.
- If the fabric is bulky or slippery, use extra pins or clips to keep the edges aligned.
- Practice on scrap fabric if you’re new to ladder stitching; your results will improve with experience.
With these ladder stitch tips and steps, you’ll master this essential hand-sewing skill for seamless, professional finishes on any project.