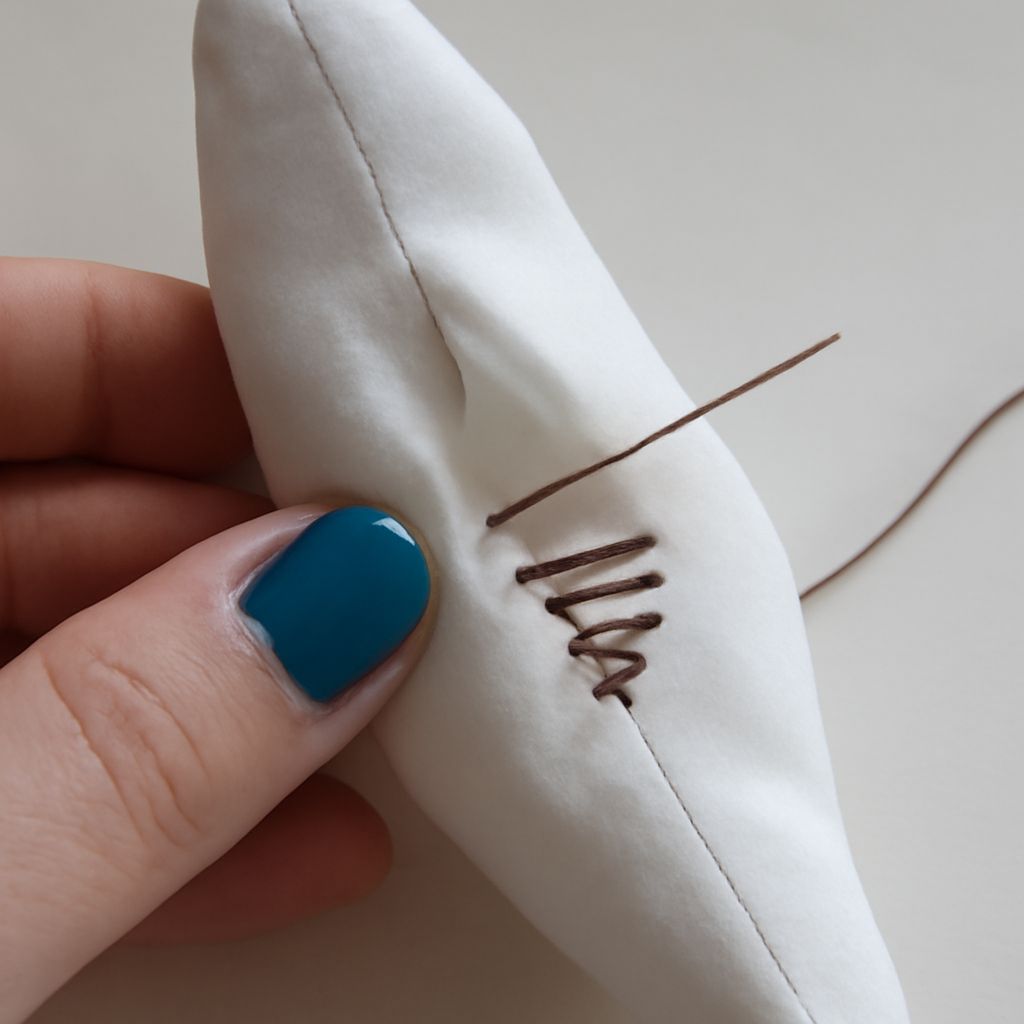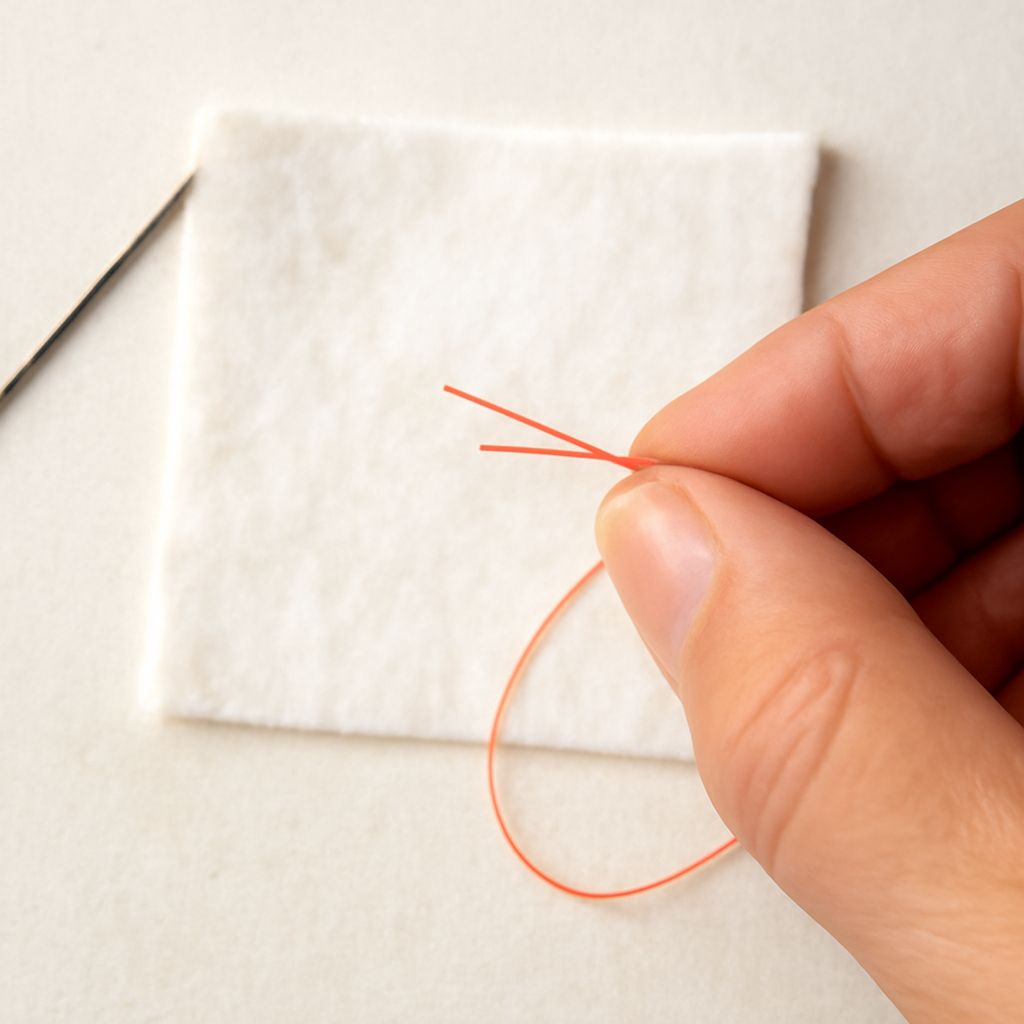
Learning how to tie a sewing knot is an essential skill for anyone interested in hand sewing, repairing clothes, or starting creative projects. A secure knot keeps your thread from slipping out of the fabric, ensuring your stitches stay in place. Whether you’re threading a needle for the first time or perfecting your finishing knot, these step-by-step instructions will help you master this fundamental sewing technique.
Materials Needed
Before you begin, gather the following materials to make the process of tying a sewing knot simple and efficient:
- Needle: Any standard hand-sewing needle will do, but choose a size appropriate for your fabric and thread.
- Thread: Use cotton or polyester thread, matching the color and weight to your project for best results.
- Scissors: Small, sharp scissors are ideal for trimming thread ends cleanly.
- Optional: Needle threader: This tool can help if you find it challenging to thread the needle by hand.
With these materials ready, you are set to follow the steps for how to tie a sewing knot.
How to Tie a Sewing Knot
To begin hand sewing, you need to secure your thread with a knot at one end. This prevents the thread from pulling all the way through the fabric as you stitch. Here’s how to tie a sewing knot in a few easy steps:
- Cut your thread: Measure and cut a piece of thread about 18 to 24 inches long. Too much thread can tangle; too little will need frequent re-threading.
- Thread the needle: Pass one end of the thread through the eye of the needle. You can use a needle threader if needed.
- Hold the thread ends together (optional): For a double-threaded needle, match the ends and tie them together. For a single thread, leave one end long and knot only that side.
- Form the knot: Pinch the end of the thread between your thumb and index finger. Wrap the tail around your finger once or twice, then roll it off using your thumb while pinching and sliding the loops down the thread. Pull gently to form a tight, secure knot.
- Trim excess thread: If the tail is too long below the knot, snip it to leave about 1/8 inch. This keeps the knot neat and less likely to show through your fabric.
Practice makes perfect—don’t worry if your first knot isn’t neat. Repeating this process will help you consistently tie a knot that holds your stitches in place.
How to Tie a Knot in Thread and on a Needle
Knotting Thread Before Sewing
To ensure your sewing doesn’t unravel, it’s important to know how to knot thread. The classic method involves using your fingers to create a small, tight knot at the end of your thread. Another reliable technique is the quilter’s knot: hold the needle in one hand, lay the thread against the needle’s shaft, and, using your other hand, wrap the thread around the needle two or three times. Pinch the wraps, then pull the needle through while sliding the coils down the thread to form a compact knot at the end. This method works especially well for fine or slippery threads.
If you’re working with heavier thread or embroidery floss, consider tying a double knot for added security. Simply repeat the knotting step so two knots sit closely together at the thread’s end.
Knotting Thread on a Needle
Sometimes, you need to know how to tie a knot on a needle for specialty stitches or to anchor the thread at a specific point. With the threaded needle in one hand, wrap the loose end of the thread around the shaft of the needle two to three times. Hold the wrapped coils in place between your thumb and finger, then use your other hand to pull the needle through the coils. This action slides the knot down to the base of the needle or to wherever you want it to sit on the thread. This method is great for creating decorative knots such as French knots in embroidery, or for an anchor knot at the start or finish of a seam.
Practicing how to knot thread and how to tie a knot on a needle will help you handle a wide range of sewing techniques and projects.
Tips for Secure Sewing Knots
Consistent, secure knots are key to durable hand sewing. Here are some practical tips to improve your results:
- Use the right thread length: Working with thread that is too long increases the risk of tangling and loose knots. Stick to 18–24 inches for most hand sewing projects.
- Keep knots small and tight: Large or loose knots can slip through fabric or show on the right side of your project. Practice rolling the thread off your finger smoothly to control the knot size.
- Double-knot for extra strength: For high-stress areas or heavy fabrics, tie two knots at the end of your thread for added security.
- Trim excess thread: After tying, trim the tail close to the knot to keep your work tidy and prevent fraying.
- Test your knot: Gently tug on the thread before beginning to sew. If the knot slips off, retie it until it holds firm.
By mastering these techniques, you’ll confidently know how to tie a sewing knot, how to tie a knot in thread, and how to tie a knot on a needle for any hand-sewing project.