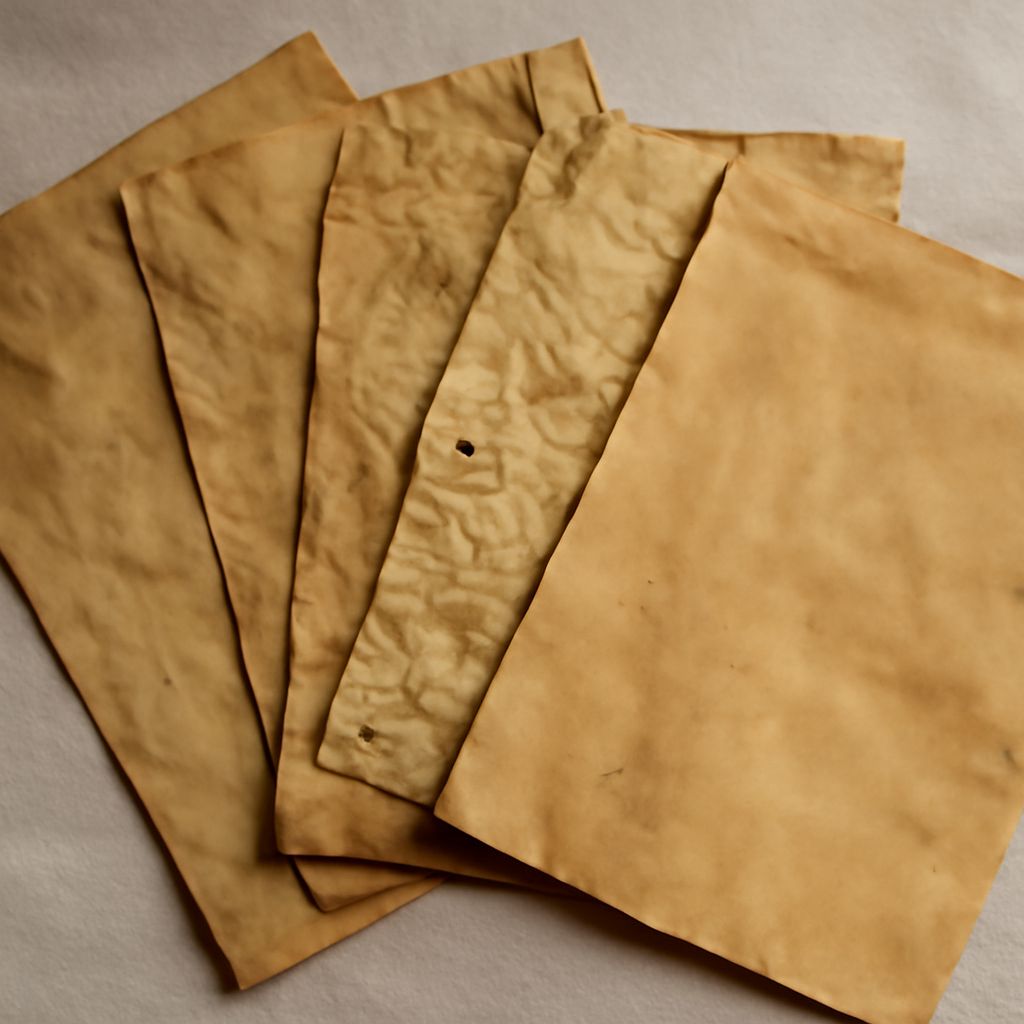
Creating vintage-style paper can add a unique touch to crafts, invitations, and art projects. One simple way to achieve this look is by using coffee. This method offers an easy and inexpensive solution for how to make paper look old. Follow these steps to learn how to age paper with coffee.
Materials Needed
- White paper (printer paper or any light-colored sheet)
- Instant coffee or brewed coffee
- Baking tray
- Sponge or brush
- Paper towels
- Oven or a drying rack
- Optional: Tea bags, for varied tones
Preparing the Coffee Mixture
To start, brew a strong cup of coffee or dissolve a few tablespoons of instant coffee in hot water. The strength of the coffee will determine the darkness of the paper. For additional depth, consider adding a tea bag to the mix. Let the mixture cool slightly before use to avoid burns.
Aging the Paper
Begin by placing the paper flat on a baking tray. Dip a sponge or brush into the coffee mixture and gently apply it to the paper. Ensure the entire surface is covered for an even tone. For a more aged look, add extra layers or concentrate the coffee in certain areas.
If you want a textured appearance, sprinkle some coffee grounds over the wet surface. Let them sit for a few minutes before brushing them off.
Drying and Final Touches
Once you’re satisfied with the color, it’s time to dry the paper. You can place it in a preheated oven at a low temperature (around 200°F or 95°C) for 5–10 minutes. Keep an eye on it to prevent burning. Alternatively, you can let it air dry on a rack.
After drying, consider adding final touches. Crumple the paper slightly for extra texture, or gently tear the edges to enhance the aged look.
By following these steps, you can easily transform ordinary paper into something that looks like it holds a piece of history. Whether it’s for a craft project or an artistic endeavor, knowing how to make old paper adds a special charm to your creations.