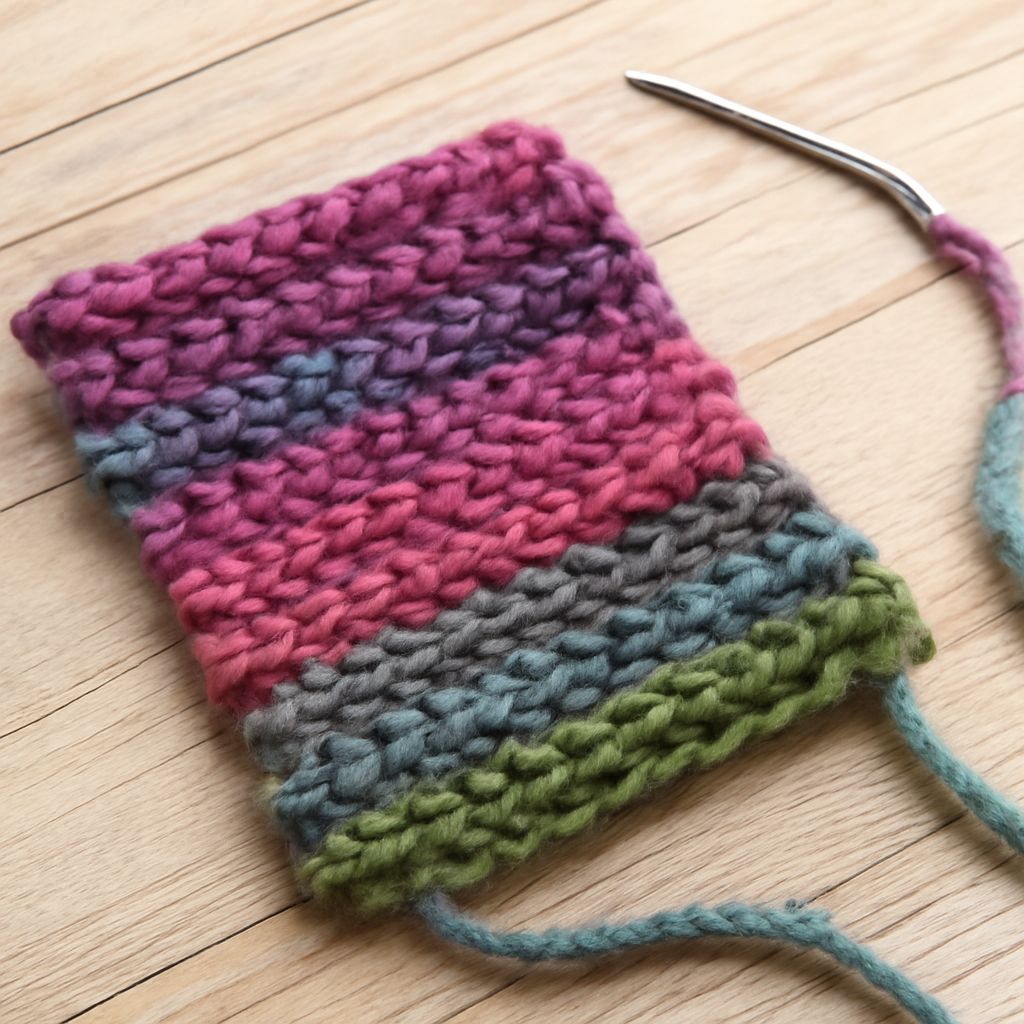
How can one needle turn a short length of yarn into a flexible textile? In nålbinding, the whole working length passes through a sequence of existing loops to make each new one. The resulting looped fabric grows one stitch at a time, and different needle-binding stitches change the path through those loops.
The practice is also called nailbinding. An Oslo-stitch sample makes the movement visible before rows or shaping are added.
Nalbinding Stitches and How They Differ
Unlike knitting, where multiple live loops sit on needles, nalbinding generally uses one eyed needle and a finite length of yarn. Crochet also builds loops with a single tool, but its hook draws a loop through the work from a continuous strand. In this needle technique, the free length is drawn all the way through each stitch. The structures may look similar at a glance, but their thread paths are different.
The Oslo stitch uses a thumb loop and one rear loop in the method below. Mammen stitch uses one thumb loop and two rear loops in the thumb method; Finnish 2+2 uses two thumb loops and two behind. These nalbinding stitches use different arrangements, so instructions should identify the stitch and the joining method. Neulakintaat’s video index shows several named variants and ways to begin them.
A notation such as UO/UOO F1 gives a more precise description of Oslo. In Hansen notation, U and O represent under and over; the slash marks a change of direction. F1 means picking up one loop from the previous row as a connection. The Nalbinding Handbook’s Oslo guide shows these steps in photographs.
Needle, Yarn, and a Short Working Length
Choose a blunt, large-eyed needle that allows the yarn to pass easily through its eye. Select light-colored, worsted-weight or slightly thicker wool so the individual loops are easy to see. Non-superwash wool is a practical choice if the ends will be joined by felting.
Cut roughly an armspan of yarn and thread one end through the needle. The other end begins the work. Because the entire threaded length travels through each stitch, a very long piece tangles and takes longer to pull through. In nalbinding, a new length can be joined when the working end becomes short.
For this right-handed sample, keep the needle threaded with the long end, leaving a short starting tail; reverse directions for left-handed work. The thumb acts as a gauge: stitches are made around it, so keeping them in the same place helps make their size consistent.
Make an Oslo-Stitch Practice Chain
This exercise produces a short chain, enough to see the structure and practice finishing. The sequence follows the photographed basic knot start and Oslo method in the Handbook.
- Make a loose overhand knot near the starting end and place it around the left thumb, with the short tail pointing right. Pull the long working yarn across the front of the thumb. Slide the threaded needle between the knot loop and the thumb pad, then pull the needle and yarn through to the left.
- Snug the new loop against the thumb below the first loop without squeezing the thumb. Push the upper, older loop off the thumb toward the back. There is now one thumb loop around the thumb and one rear loop behind it.
- Insert the needle from front to back through the rear loop. Keeping the needle inside that loop, turn its point toward the left. The rear loop twists under the needle.
- Slide the needle between the thumb and the thumb loop, and also between the thumb and the working yarn crossing it. In shorthand, the route is through rear loop → turn left → under thumb loop and working yarn → pull through. Draw the whole needle and yarn through to the left.
- A new loop forms below the old one on the thumb. Snug it gently, then push the old thumb loop up and off toward the back. It becomes the next rear loop. Repeat steps 3–5 until the chain contains about 15 stitches.
The chain may curl or look uneven at first. Hold its ends and give it a gentle lengthwise tug to balance the loops. To begin a second row for a larger piece, the F1 connection picks up one top-edge loop from the existing row before the needle makes the next Oslo stitch. Keep that connection distinct from the rear loop; missing it leaves a new chain detached from the earlier row.
Join a New Length and Finish
When several inches of working yarn remain, join another length before the needle becomes difficult to handle. For non-superwash wool, untwist and tease apart the last inch or two of each end, overlap the fibers, dampen them, and roll the overlap firmly between the palms until the fibers hold together. Gently test the join before threading the new end. This felt join works with wool that will felt; cotton, acrylic, and superwash yarn require another joining method, such as a small secure knot with tails worked into the fabric.
To finish the chain, remove the thumb and flatten the working loops. Tighten the rear loop first, then the thumb loop, and draw the working yarn snug. Leave several inches of tail and use the needle to pass it through neighboring loops; work the starting tail back through nearby stitches as well. The finishing guide illustrates this sequence for a completed edge.
The technique also has a documented historical life beyond any one modern stitch name. National Museums Scotland’s Egyptian sock uses a single-needle looped construction and shows how easily such fabric can be mistaken for knitting. An object and its museum attribution provide a firmer historical reference than treating every modern needle-binding pattern as an ancient design.
A common beginner’s error is pulling each new loop too tight. If the needle is difficult to pass between the thumb and the loop, loosen the most recent stitch and make it again with the yarn resting lightly against the thumb. A consistent, accessible opening makes the next needle movement much easier to see.