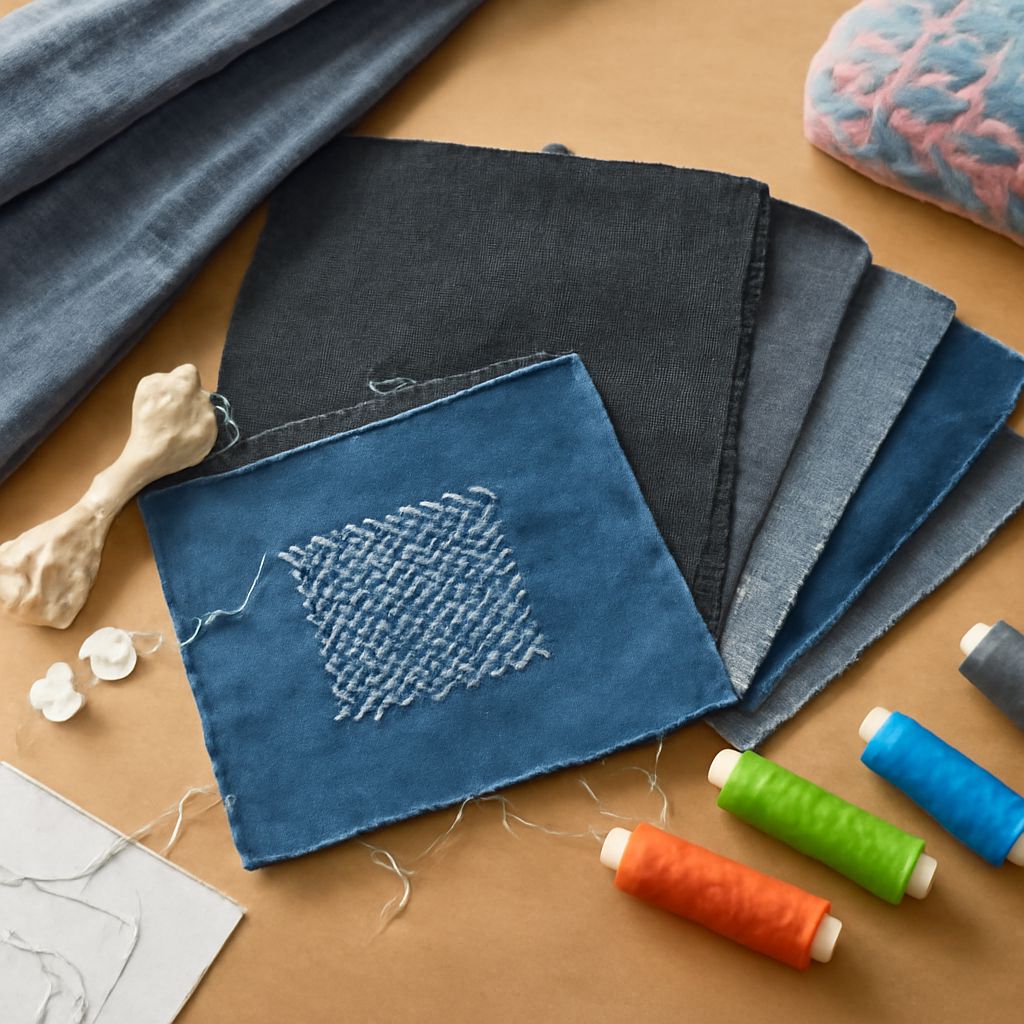
Sashiko quilting is easiest to learn on a small, layered project. Use one repeating diamond pattern, a medium-weight cotton, and a simple running stitch. A 6-inch coaster or panel gives you enough space to practise rhythm without managing a full quilt.
This method uses visible stitching for both decoration and function: the thread holds the top, batting, and backing together. Aim for a steady visual pattern, not machine-perfect measurements.
Sashiko Quilting: The Minimal Supply Kit
Gather these basic sashiko supplies before marking your fabric:
- Fabric: Two 7-inch squares of tightly woven cotton, such as quilting cotton, linen-cotton, or lightweight denim. Avoid stretchy or loosely woven cloth.
- Thread: Cotton sashiko thread, used as one full strand. Pearl cotton can work if it passes smoothly through the fabric.
- Needle: A long, sharp sashiko needle or an ordinary embroidery needle with a large eye.
- Marker: Washable fabric pen, chalk pencil, or white pencil suited to your fabric. Test it on a scrap first.
- Other tools: Scissors, ruler, a thimble, a small piece of thin batting, and pins or temporary basting stitches.
You do not need a specialist frame. A flat work surface and ordinary sewing tools are enough.
Prepare and Mark the Fabric
- Cut the top, batting, and backing to 7-inch squares. Press the cotton pieces so creases do not interrupt your lines.
- On the right side of the top, mark a centred 5-inch square. Leave the outer inch as a finishing margin.
- Inside that square, draw diagonal lines in both directions, spacing them 1 inch apart. The crossing lines create a repeatable diamond lattice.
- Place the backing wrong side up, add the batting, then place the marked top right side up. Pin or baste from the centre outward.
Check that the layers lie flat. If the fabric ripples before stitching, smooth it now; quilting will not remove excess fullness.
Find Your Rhythm with Sashiko Stitching
Sashiko stitching is a running stitch. Bring the needle up and down along one marked line, aiming for stitches about 3/16 inch long with similar gaps. Load several stitches onto the needle before pulling the thread through, but stop when the fabric begins to gather.
Think of each line as a visual rhythm: stitch, gap, stitch, gap. Small variations look natural and often disappear across the pattern. Uneven tension is more noticeable than unequal stitch lengths, so keep the thread snug without pulling tightly.
Work one diagonal line at a time, then continue across the second direction. At a crossing, do not stitch repeatedly through the same hole. Leave a tiny space before the intersection, cross it once, and continue on the other side. This prevents dark knot clusters and bulky overlaps.
Begin with a 2-inch thread tail. Do not tie a bulky knot. After stitching several lines, weave the tail under nearby stitches on the back, then trim it. Finish similarly, leaving enough thread to weave securely. If a line ends at the edge of the marked square, hide the end within the layered seam area.
Assemble and Finish the Quilted Project
- Complete the diamond lattice through all three layers. Pause every few lines to check the backing for puckers.
- When the stitching is finished, remove the basting and press the panel lightly from the back. Do not flatten the raised thread.
- Square the piece to 6 inches, keeping approximately 1/2 inch between the marked stitching and each edge.
- Finish the edges with narrow double-fold binding, or turn the top and backing edges over the batting and slipstitch them closed.
- Trim loose threads and wash out the marker according to its instructions. Air-dry the panel flat.
The finished piece should lie flat, with secure layers, clear diamond shapes, and evenly spaced running stitches that function as quilting rather than decoration alone.