Sashiko needles should match the fabric stack, not simply the pattern. Use a shorter, moderately flexible needle for one fabric layer; choose a longer, stiffer needle when passing through a quilt sandwich.
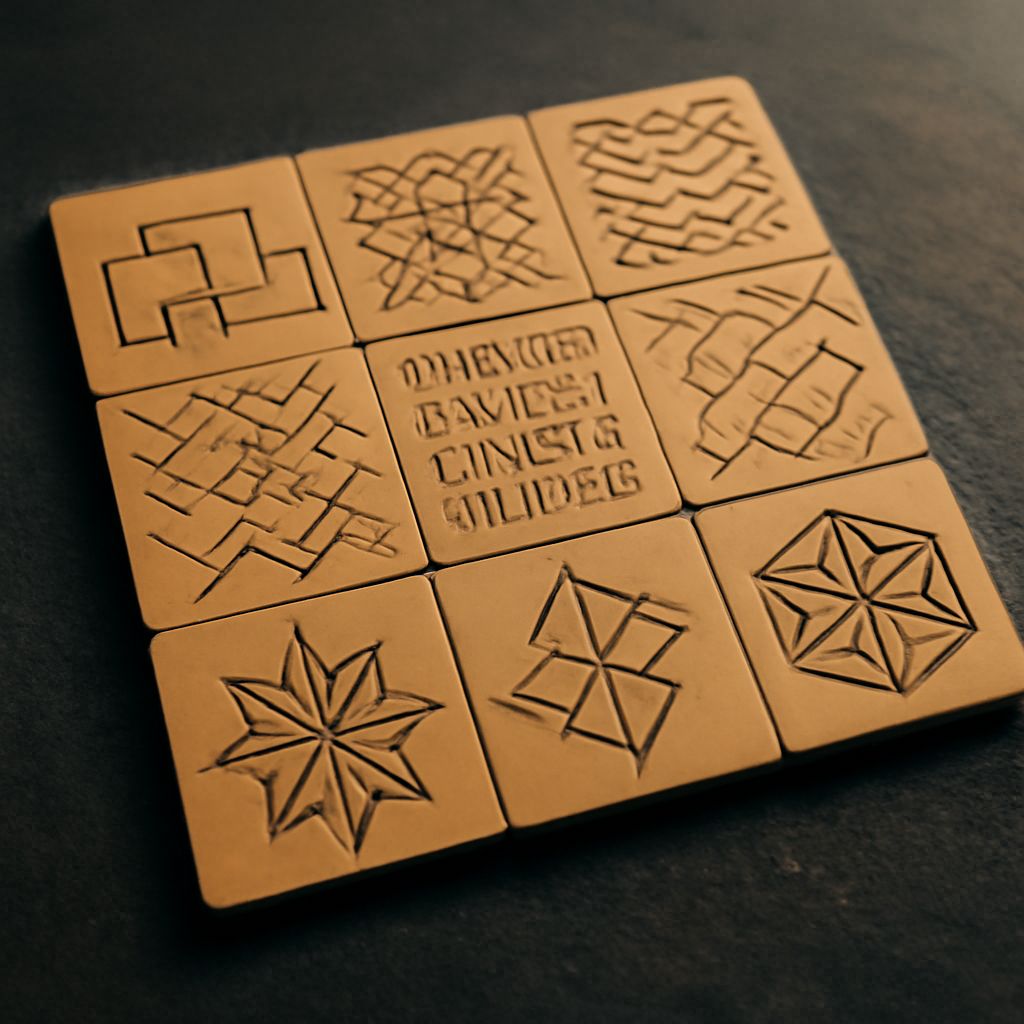
For a controlled beginner sample, work on a 10- to 12-inch square. Select a simple geometric design, mark it accurately, and keep the running-stitch rhythm even before adding complexity.
Sashiko Needles: Compare Length, Eye Size and Stiffness
A single fabric layer needs a needle that turns easily. Choose a short or medium-length needle with enough flexibility for small curves and close spacing. Its eye should hold your thread without forcing an oversized hole into the cloth.
Quilt layers require more reach. A longer sashiko needle helps load several stitches before pulling the thread through, while a stiffer shaft pushes through the batting and backing without bending. Its eye must still accommodate the thread smoothly; a large eye is useful, but an eye that drags can distort the weave.
Test the needle on a folded scrap of your actual materials. If it flexes sharply, change to a stiffer needle. If it leaves large holes or feels difficult to turn, use a shorter or finer option. No single size suits every fabric stack.
Choose Thread, Fabric and Sashiko Patterns by Pattern Density
Use tightly woven cotton for your first sample. A stable plain weave supports clean marks, while loosely woven cloth can shift and enlarge the holes. Prewash and press the fabric so later shrinkage does not tighten the stitches unexpectedly.
Traditional sashiko thread is thicker than ordinary sewing thread and gives the pattern a clear, rounded line. For dense sashiko patterns, choose a slightly finer thread or increase the spacing. For open designs, a heavier thread can provide stronger contrast. Match the needle eye to the thread: it should pass freely without splitting the fibers.
Start with a design containing straight lines and generous spaces. As a guide, make each stitch about 3 to 5 millimeters long, with similar gaps. A visible running stitch alone is not necessarily sashiko; the even rhythm, materials, and organized pattern are part of the result.
Mark the Design and Stitch Turns, Intersections and Thread Changes Cleanly
- Press the fabric and mark the design on the front with a removable pencil, chalk, or fine fabric marker. Use a ruler for grids and parallel lines.
- Check the pattern from every edge before stitching. Extend lines lightly to the border, but keep the planned seam or binding area clear.
- Thread the needle with a manageable length, about 18 to 24 inches. Knot according to your chosen sashiko method, or secure the tail between layers if the sample will be quilted.
- Begin on a straight section. Keep the needle moving through several stitches, then pull the thread flat without tightening it.
- At a turn, stop one stitch before the corner, take a small adjustment stitch, and continue in the new direction. Do not twist the thread around the corner.
- At intersections, follow the marked path and keep crossing stitches consistent. Avoid changing direction randomly or building bulky knots at the center.
- When the thread runs short, finish on the back or between layers. Start the new thread a few stitches away, following the same line and tension.
Baste, Stitch and Finish a Small Sashiko Quilt Without Puckering
Make a three-layer sandwich: backing, batting, and marked top. Trim each layer slightly larger than the planned finished sample. Smooth them from the center outward, then baste with safety pins or removable hand stitches every 3 to 4 inches. The layers should lie flat, never stretched.
Stitch the largest interior lines first, working from the center toward the edges. After every few inches, lay the piece flat and release any slack before continuing. Correct puckers immediately by removing the last section; pulling harder will not flatten excess fabric.
When the design is complete, remove the basting and press lightly from the back over a cloth. Trim the sandwich to an even square, leaving enough margin for a narrow turned edge or binding. Fold and stitch the edge, bury thread tails between layers, and secure the final stitches without compressing the quilt.