Knitting your first pair of socks can be both exciting and rewarding, especially with a straightforward sock knitting pattern designed for beginners. This guide covers every step, from choosing your materials to personalizing the finished pair. Whether you’re looking for a classic cuff-down style or want to experiment with color, the following instructions make it easy to complete your knit sock pattern confidently.
Materials and Tools Needed
Gathering the right supplies ensures your first attempt is smooth and enjoyable. For most beginner sock patterns, you’ll need lightweight (fingering or sport) yarn—wool blends are popular choices for their warmth and stretch. Select a soft, washable yarn if you want easy care and comfort.
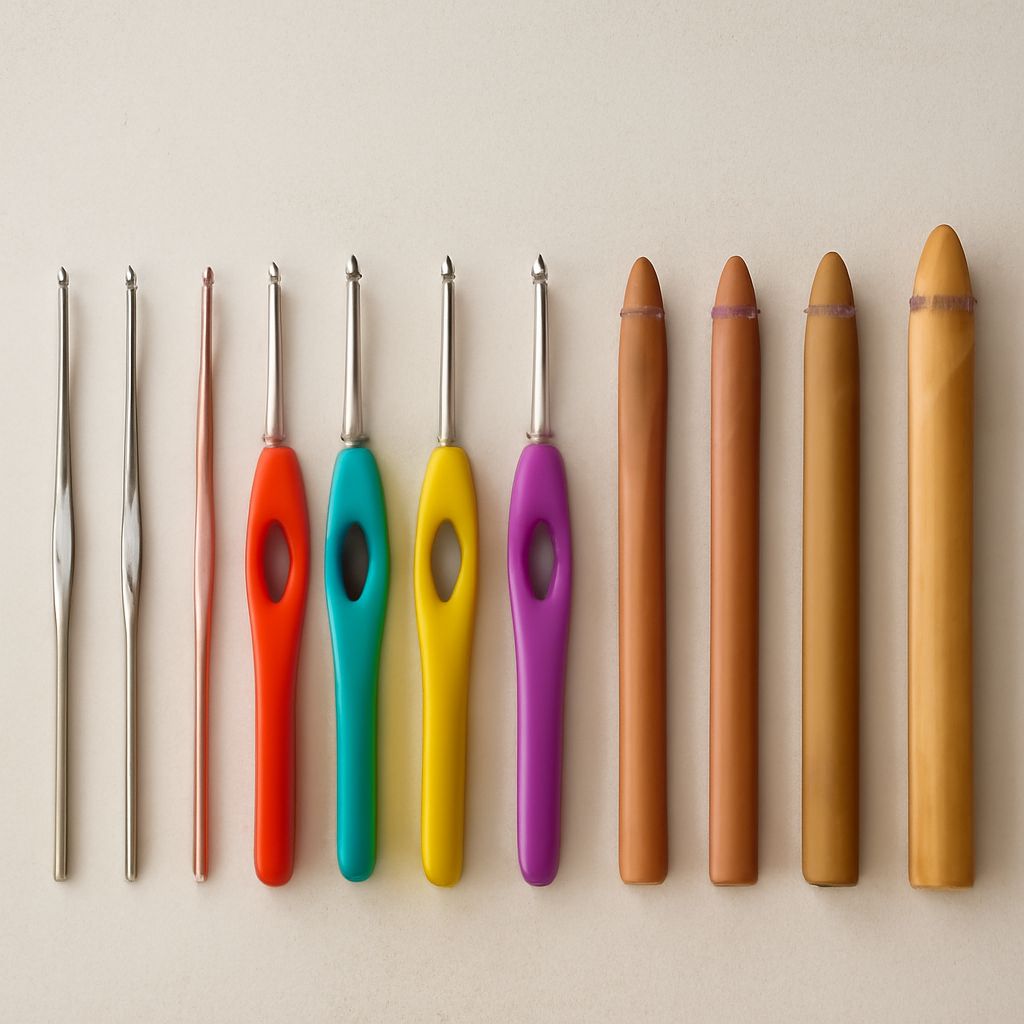
Choose the appropriate needles based on your preferred method. Double-pointed needles (DPNs) in US size 1-3 (2.25-3.25mm) are common, but a 32-inch circular needle can work for the magic loop technique. Make sure your needle size matches your yarn’s recommended gauge for well-fitted socks.
You’ll also need a tapestry needle for weaving in ends, stitch markers to mark rounds or pattern changes, and a measuring tape to check sizing. Optional extras include a row counter and a small pair of scissors for snipping yarn tails.
Before starting, pick a light or medium color so you can easily see your stitches. Dark colors hide mistakes, which can be tricky for beginners to spot and correct.
Step-by-Step Sock Knitting Pattern
This classic cuff-down sock pattern fits most adults with a finished foot length of about 9.5 inches (24cm). Adjust the length as needed for your size.
- Cuff: Cast on 64 stitches using your preferred cast-on method. Join to knit in the round, being careful not to twist. Place a stitch marker at the beginning of the round. Knit 1, purl 1 ribbing for 1.5 inches (4cm).
- Leg: Knit every round (stockinette) until the leg measures 5-7 inches (13-18cm) from the cast-on edge, depending on your desired sock height.
- Heel Flap: Work back and forth on half the stitches (32). Row 1 (right side): *Slip 1, knit 1* to end. Row 2 (wrong side): Slip 1, purl to end. Repeat these two rows for 2.25 inches (6cm).
- Turning the Heel: On the right side, knit to the center, then work short rows as follows (example for 32 heel stitches): Knit 18, ssk, k1, turn. Slip 1, purl 5, p2tog, p1, turn. Continue working one more stitch before the decrease each row until all stitches are worked.
- Gusset: Pick up and knit 16 stitches along each side of the heel flap. Resume knitting in the round, including the instep stitches. Decrease every other round by knitting two together at each gusset edge until you’re back to 64 stitches.
- Foot: Knit even until the foot measures about 2 inches less than the total desired length.
- Toe: Decrease for the toe: *Knit to three stitches before the marker, k2tog, k1, slip marker, k1, ssk, knit to end.* Repeat every other round until 24 stitches remain. Graft the toe with Kitchener stitch.
This basic sock pattern can be easily memorized and repeated for future pairs. For your first sock, check your gauge by knitting a small swatch and adjusting your needle size as needed.
Tips for Perfect Socks
Consistency is key when following any sock pattern. Maintain even tension throughout to avoid loose stitches or tight spots, especially at the joins when using DPNs. If you notice ladders (loose columns between needles), try tugging gently on the first stitch of each needle.
Measure your foot and compare it to the pattern’s finished length. Socks should be snug but not tight; negative ease (about 10% smaller than your foot) ensures they stay up and fit well. Try your sock on after knitting the foot length to check comfort before starting the toe decreases.
Practice the Kitchener stitch for closing the toe. This seamless grafting gives a comfortable, professional finish. If you struggle at first, use contrasting yarn for practice before working it on your actual sock.
Keep a notebook of your sock knitting achievements. Record yarn brands, needle sizes, and any modifications. This habit helps you repeat your best results and troubleshoot future projects more easily.
Customizing Your Knit Socks
Personalizing your knit socks is simple once you understand the basics. Swap out the rib pattern for a decorative stitch, such as twisted rib or a simple lace motif. Change the leg or cuff length to make ankle socks or knee-highs. You can also experiment with stripes, color blocks, or self-striping yarns for unique effects.
For a custom fit, adjust the stitch count up or down in multiples of four to accommodate wider or narrower feet. Keep in mind that changes in stitch count affect the heel, gusset, and toe instructions—plan adjustments before beginning.
Add reinforced heels or toes by using a slip stitch pattern or a nylon-blend yarn in those sections. Reinforcement increases durability, especially for hard-wearing socks.
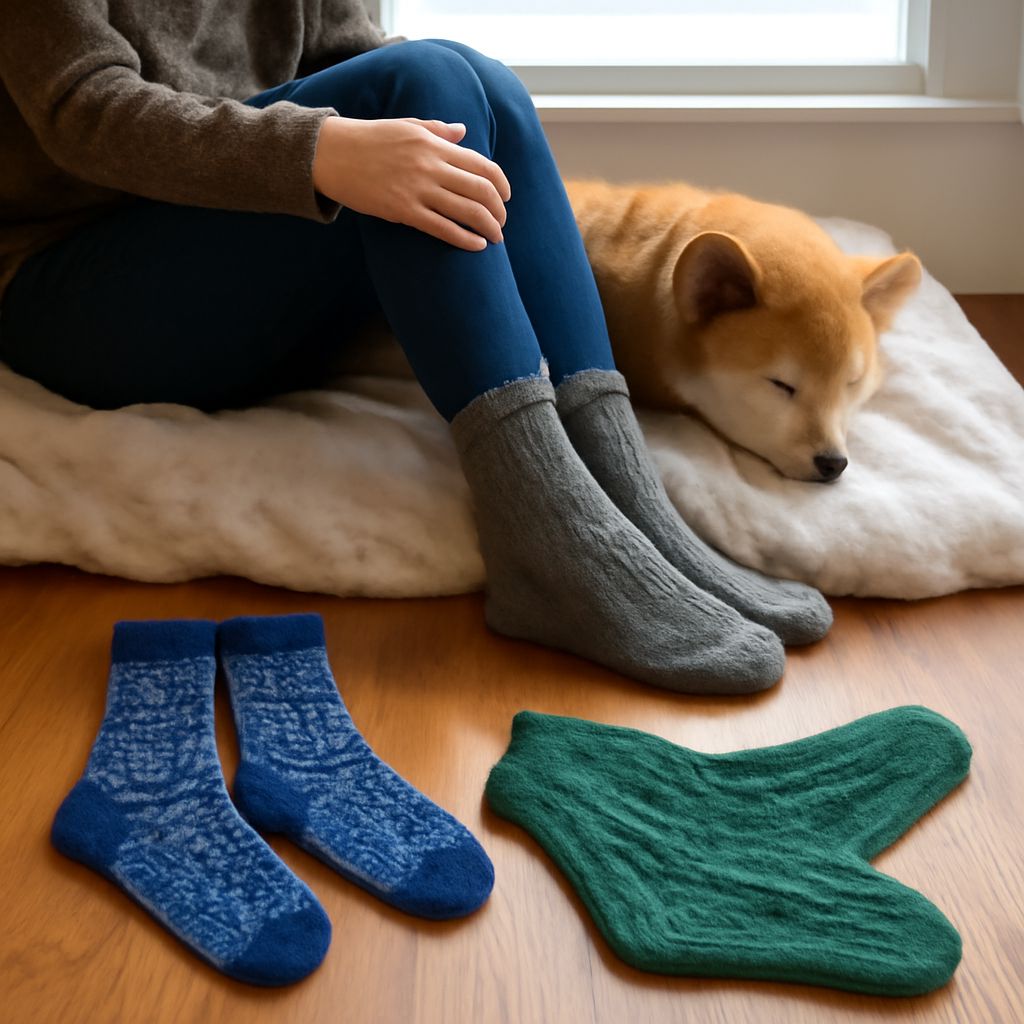
Finally, consider gifting your handmade socks. Personalize each pair by matching the recipient’s favorite colors or adding monogrammed details using duplicate stitch. With this fundamental sock knitting pattern, you’ll be able to create cozy, durable socks for any occasion.