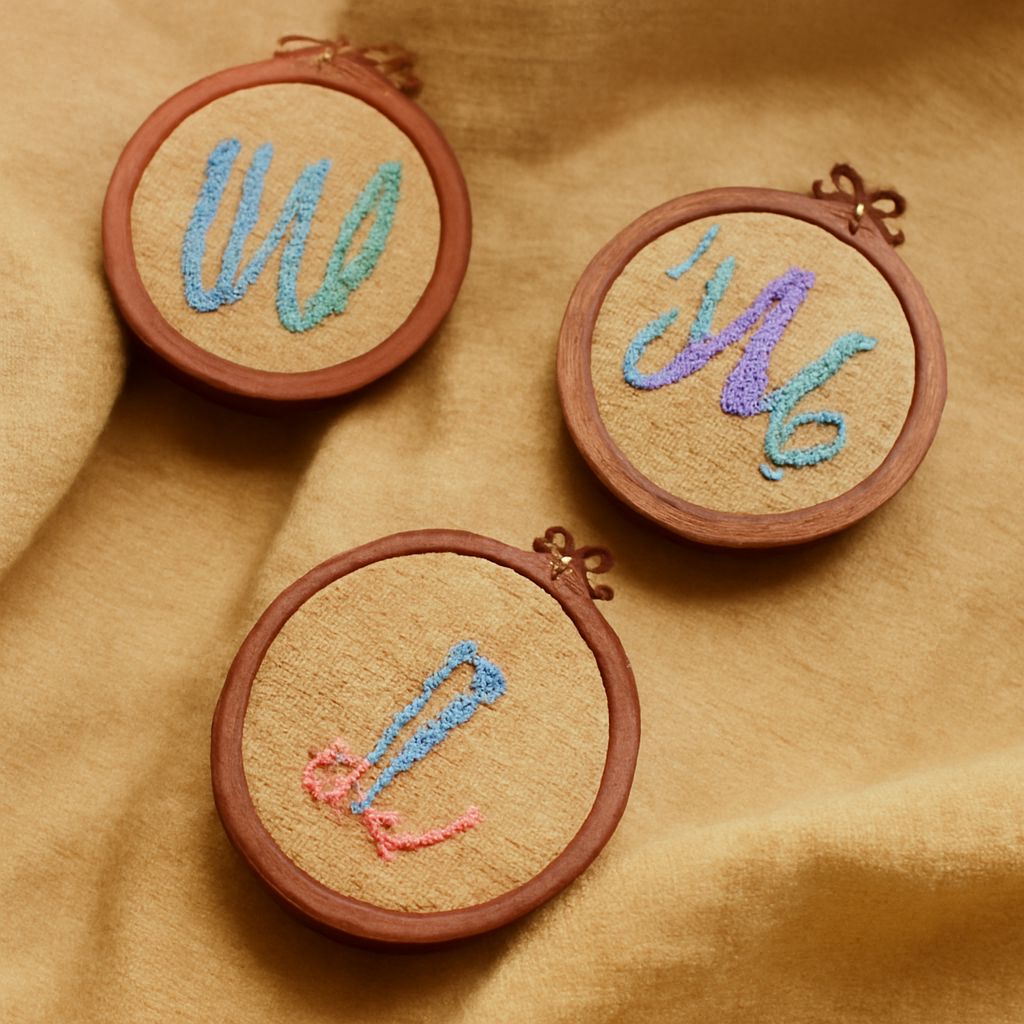
Embroidering letters is a delightful way to personalize fabric items, whether you’re crafting a heartfelt gift or adding flair to home decor. Learning how to embroider letters can open up new creative possibilities. This guide will walk you through the essential materials, techniques, and steps needed to master the art of embroidery for letters and names.
Materials Needed
- Embroidery Hoop: Keeps your fabric taut and easier to work with.
- Fabric: Choose a fabric with a tight weave, such as cotton or linen.
- Embroidery Floss: Available in a variety of colors. Use six-stranded cotton floss.
- Embroidery Needle: A size 5 or 7 needle works best for most lettering.
- Water-Soluble Marker: Useful for outlining your letters before stitching.
- Scissors: Small, sharp scissors are ideal for cutting thread neatly.
Basic Techniques
To begin embroidering letters, familiarize yourself with a few basic stitches. These can be used alone or combined for more intricate designs:
- Backstitch: Great for outlining letters. Create a line of small stitches to form each letter.
- Chain Stitch: Adds a decorative touch. Perfect for bolder, more textured letters.
- Satin Stitch: Best for filling in letters. This stitch requires a bit more practice to perfect.
Step-by-Step Process
- Prepare Your Fabric: Secure the fabric in an embroidery hoop. Tighten the hoop until the fabric is taut.
- Outline the Letters: Use a water-soluble marker to lightly sketch the letters or name on the fabric.
- Thread the Needle: Cut a length of embroidery floss, separate the strands as needed, and thread your needle. Knot one end.
- Begin Stitching: Start with the first letter using your chosen stitch. If using backstitch, work from the back of the fabric, pulling the needle through and following the outline.
- Fill in Letters: Use satin or chain stitch for larger, filled-in letters if desired.
- Finish and Secure: Once all letters are complete, secure the thread on the back with a small knot.
- Remove Guidelines: Gently wash the fabric to remove any visible marker lines.
Tips for Success
- Practice on Scrap Fabric: Before starting your project, practice each stitch on a piece of scrap fabric to gain confidence.
- Choose the Right Needle and Thread: Ensure your needle and floss match the density of the fabric to avoid puckering.
- Maintain Even Tension: Keep your stitches consistent by maintaining even tension in your floss.
- Experiment with Colors: Don’t be afraid to mix colors for a more vibrant look.
By following these steps and tips, you’ll be able to create beautiful embroidered letters and names that stand out. Whether you’re crafting a unique gift or adding a personal touch to your belongings, this guide will help you achieve the perfect finish.