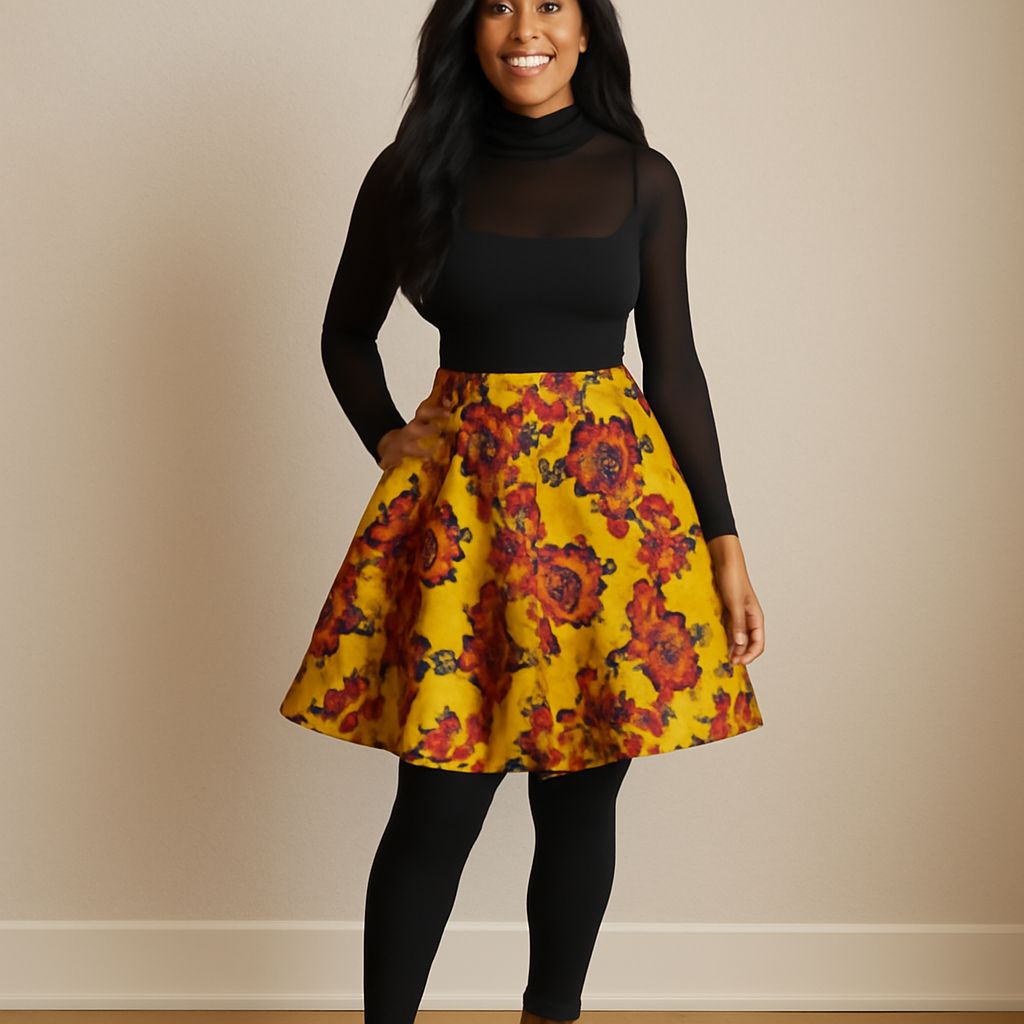
A half-circle skirt falls from a curved waist into a wide hem, creating movement without the volume of a full circle. A pattern for a half-circle skirt begins with two measurements and a radius; the construction also needs room for seams, a waistband and a way to get the skirt on. The example below connects those decisions in one finished project.
Half Circle Skirt Pattern: Start With Measurements
This half circle skirt uses a 32-inch waist and a 22-inch finished skirt length, measured from the waist seam to the hem. The separate waistband adds 1 inch above that seam. A 1-inch ease allowance gives a finished skirt waist of 33 inches, leaving a little room to breathe. The wearer’s preferred fit can change the ease, but every later measurement must use the same finished waist.
For a half circle, the waist seam forms a semicircle. Its length is π times the radius, so divide the finished waist by π: 33 ÷ 3.1416 = about 10½ inches. Adding the 22-inch length gives an outer seam-line radius of 32½ inches. These are seam lines, not cutting edges.
This half circle skirt pattern uses two quarter-circle panels, joined at both sides. Dividing the semicircle into two pieces makes the shape easier to lay out on ordinary fabric and provides a side seam for a zipper. Each panel’s waist seam should measure about 16½ inches; together the two sewn panels make the planned 33 inches.
Prepare the Layout
Choose a woven fabric with a comfortable drape, such as a light to medium-weight cotton or rayon blend. Preshrink it according to its care instructions and press it flat. Slippery or stretchy fabric requires more care. This half-circle skirt sewing pattern assumes non-stretch woven fabric at least 45 inches wide after washing.
For this semicircular skirt pattern, mark a quarter circle from a square corner on paper for each panel. Measure 10½ inches from that corner in several directions to draw the waist seam line. Mark 32½ inches from the same corner for the hem line. Connect each set of marks into a smooth arc. The straight edges between them become the two side seams.
Add ½ inch beyond each straight side seam and toward the corner at the waist. Add ½ inch outside the hem line for a narrow hem. Cut two mirror-image panels on a single layer, with the straight edges parallel to the fabric’s lengthwise and crosswise grain. Allow approximately a 33½-by-33½-inch area for each piece; place them one after the other along the fabric. For this layout, about 2 yards of 45-inch fabric also leaves room beside the panels for the waistband, provided the usable width is at least 45 inches. Check the actual layout before cutting, especially with a directional print.
A paper half circle skirt pattern lets the arc and seam allowances be checked before the scissors touch the cloth. In the half-circle skirt draft, measure the waist seam along the curve; small rounding differences can be corrected on paper. Mark the zipper opening on the left side. Transfer the half-circle skirt template to both fabric pieces.
Cut and Sew the Skirt
For the semicircular skirt, cut both panels, keeping the waist and hem edges distinct. Transfer the waist seam line and zipper marks with a fabric-safe marking tool. Staystitch the waist curves just inside the ½-inch seam allowance: this short line of stitching helps keep the curved edge from stretching while it is handled. Do not pull the fabric as it passes through the machine.
Place the panels right sides together. Sew the right side seam with a ½-inch allowance. On the left side, leave an opening for a 7-inch zipper below the waist seam line and sew the remaining seam with the same allowance. Finish the raw seam edges using an appropriate method, such as a zigzag stitch or serger, and press. Insert the zipper according to its instructions, keeping its top at the waist seam line; the waistband will close above it.
Before attaching the band, try the skirt around the waist with the opening held closed. The sewn waist seam should sit where the measurement was taken and allow the planned ease. Check that the zipper opening is long enough to pass over the hips. If it is not, extend the opening and use a longer zipper before finishing the waistband.
Add the Waistband and Hem
For this 1/2 circle skirt, cut a waistband rectangle 35 inches long by 3 inches wide. Its finished length is 34 inches: 33 inches around the skirt plus a 1-inch overlap for a hook or button. The extra 1 inch in the cut length provides ½-inch allowances at both short ends. The 3-inch width folds into a 1-inch finished band with ½-inch allowances along both long edges. Add suitable interfacing if the fabric needs support.
With right sides together, sew one long edge to the skirt waist with a ½-inch allowance. Start and finish so the band extends ½ inch beyond one zipper edge and 1½ inches beyond the other; these extensions include the short-end allowances. Fold the band lengthwise, sew and turn the short ends, then fold the inner long allowance under and secure it over the waist seam. Add a hook and eye or button on the overlap. Check that the band closes flat without pulling the zipper apart.
Hang the assembled skirt for at least a day before leveling the hem. Portions cut on the bias—the diagonal direction across the weave—can stretch more than portions on the straight grain. With the skirt worn or hanging evenly, measure from the floor and mark a level finished hem. Trim uneven excess while retaining the hem allowance. Turn the lower edge under ¼ inch twice, press and stitch; a narrow hem accommodates the curve more easily than a deep one.
If the finished hem dips at the sides, the likely cause is uneven bias stretch. Hang the skirt again, mark the length from the floor and relevel it before completing or redoing the narrow hem.