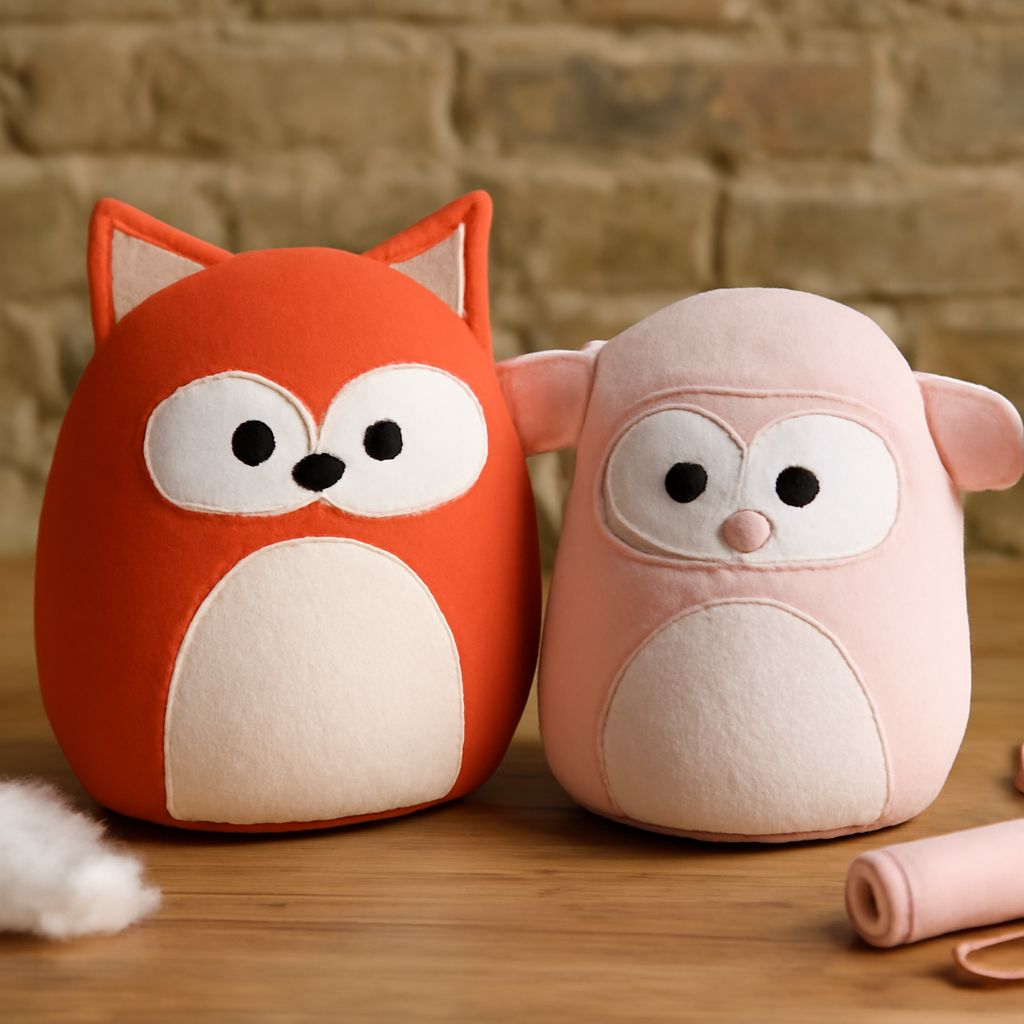
Crafting your own stuffed animal patterns is a delightful and rewarding hobby, perfect for both beginners and seasoned sewists. This guide will help you navigate through the process, offering insights into essential materials, detailed sewing steps, and creative tips for designing unique stuffed animals. Whether you’re making a gift or starting a new hobby, creating your own stuffed animal sewing pattern can be a fun and fulfilling experience.
Introduction to Stuffed Animal Patterns
Stuffed animal patterns provide the blueprints needed to create adorable and cuddly plush toys. These patterns can vary from simple designs suitable for beginners to intricate patterns for advanced crafters. By understanding the basics of animal sewing patterns, you can start creating personalized and charming toys that are perfect for children and adults alike.
Essential Materials
To get started, you’ll need a few basic materials. Here’s a list to guide you:
- Fabric: Choose soft, durable fabrics like fleece, cotton, or felt.
- Thread: Match your thread to the fabric color for a seamless look.
- Needles: Opt for sharp sewing needles suitable for hand or machine sewing.
- Stuffing: Polyfill is commonly used for its softness and ease of use.
- Scissors: Fabric scissors are essential for clean cuts.
- Pins: Keep your fabric in place with straight pins.
- Pattern paper: Draft your designs on paper before cutting the fabric.
Step-by-Step Sewing Guide
- Choose a Pattern: Select from a variety of stuffed animal sewing patterns available online or in crafting books. Start with a simple design if you’re a beginner.
- Prepare Your Fabric: Pre-wash and iron your fabric to prevent shrinkage and ensure smooth cutting.
- Transfer the Pattern: Use pattern paper to trace and cut out your chosen design pieces.
- Cut the Fabric: Place the pattern pieces on the fabric and cut carefully, leaving seam allowances.
- Sew the Pieces: Align fabric pieces and use pins to hold them together. Sew along the edges, leaving an opening for stuffing.
- Stuff the Animal: Fill the sewn shape with polyfill, ensuring it holds the desired form.
- Close the Opening: Use a ladder stitch to neatly close the open seam.
- Add Features: Sew on eyes, noses, and other features to bring your stuffed animal to life.
Design Tips for Unique Creations
Creating unique designs is part of the charm of making your own stuffed animals. Here are some tips to enhance your creative process:
- Mix Fabrics: Combine textures and colors for a more dynamic look.
- Embellishments: Add buttons, ribbons, or embroidery to personalize your creation.
- Experiment with Sizes: Alter the scale of your pattern pieces to create different sizes of the same design.
- Custom Features: Consider adding unique features like wings, tails, or patterns on the fabric.
By following these steps and incorporating your own creative flair, you can craft stuffed animals that are truly one-of-a-kind. Enjoy the process and let your imagination guide you!