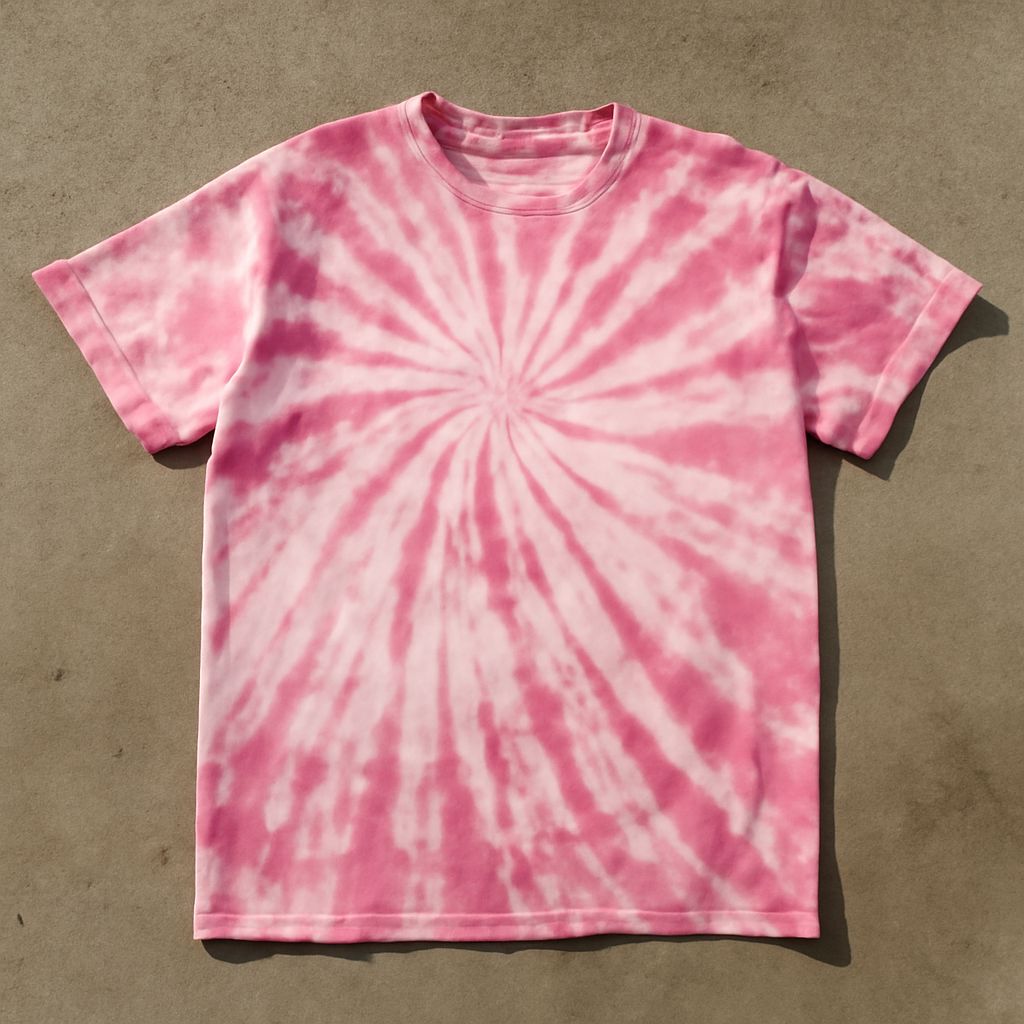
Bleach tie dye is a creative and easy way to transform plain shirts into eye-catching works of art. By removing color instead of adding it, you can create unique patterns that stand out. In this article, we’ll guide you through the essential materials, step-by-step process, design ideas, and care tips to make your bleach tie dye shirt a success.
What You Need to Get Started
Before you begin, gather the necessary materials. Here’s what you’ll need:
- Plain colored shirt: Opt for 100% cotton as it responds best to bleach.
- Bleach: Household bleach works well. Use caution as it is a strong chemical.
- Spray bottle or squeeze bottle: For controlled application of bleach.
- Protective gloves: Essential for handling bleach safely.
- Rubber bands: These will create the tie dye effect.
- Plastic bin or large plastic bag: To prevent bleach from staining other surfaces.
- Water: For rinsing and diluting bleach.
Step-by-Step Bleach Tie Dye Process
Follow these steps to create your bleach tie dye masterpiece:
- Start by laying your shirt flat. Decide on the design you want and use rubber bands to twist and bind the fabric. Common patterns include spirals, crumples, or stripes.
- Prepare a bleach solution by mixing one part bleach with one part water in a spray or squeeze bottle.
- Put on your protective gloves and place the shirt on a plastic bin or in a large plastic bag. This will contain any potential spills.
- Apply the bleach solution to the shirt. Spray or pour it over the fabric, focusing on areas you want to lighten. Remember, the longer the bleach sits, the lighter the fabric will become.
- Let the bleach work its magic for about 5 to 20 minutes. Keep an eye on the shirt, as some colors react faster than others.
- Once you achieve the desired color, carefully rinse the shirt under cold water. Remove the rubber bands and continue rinsing until the water runs clear.
- Wash the shirt separately in a washing machine using a gentle cycle to ensure all bleach is removed.
Design Ideas and Tips
Your design options are limitless with bleach tie dye. Here are some ideas to inspire you:
- Spiral: Pinch the center of the shirt and twist until the entire shirt is in a spiral. Secure with rubber bands and apply bleach in sections.
- Stripes: Fold the shirt accordion-style and wrap rubber bands at intervals. Apply bleach to create horizontal or vertical stripes.
- Ombre: Dip the bottom of the shirt in the bleach solution to create a gradient effect.
For best results, test bleach on a small, inconspicuous area of the shirt first. Different fabrics and colors react uniquely to bleach.
Care for Your Bleach Tie Dye Shirt
To maintain your bleach tie dye shirt, follow these care tips:
- Wash separately: Prevent dye transference by washing your shirt separately the first few times.
- Use cold water: Preserve the colors by washing in cold water when possible.
- Avoid bleach: Once dyed, avoid using bleach or bleach-based detergents to prevent further lightening.
With a bit of creativity and care, your bleach tie dye shirt will be a unique and lasting addition to your wardrobe.