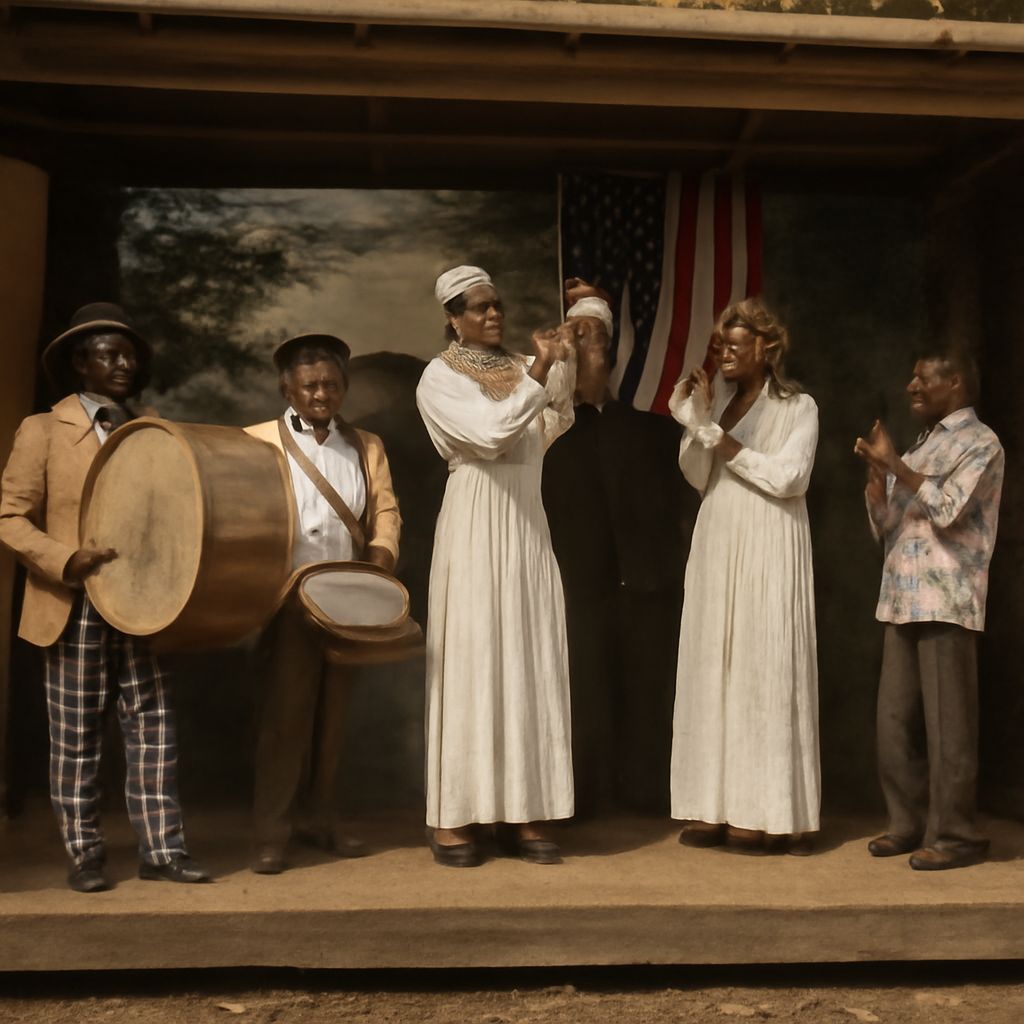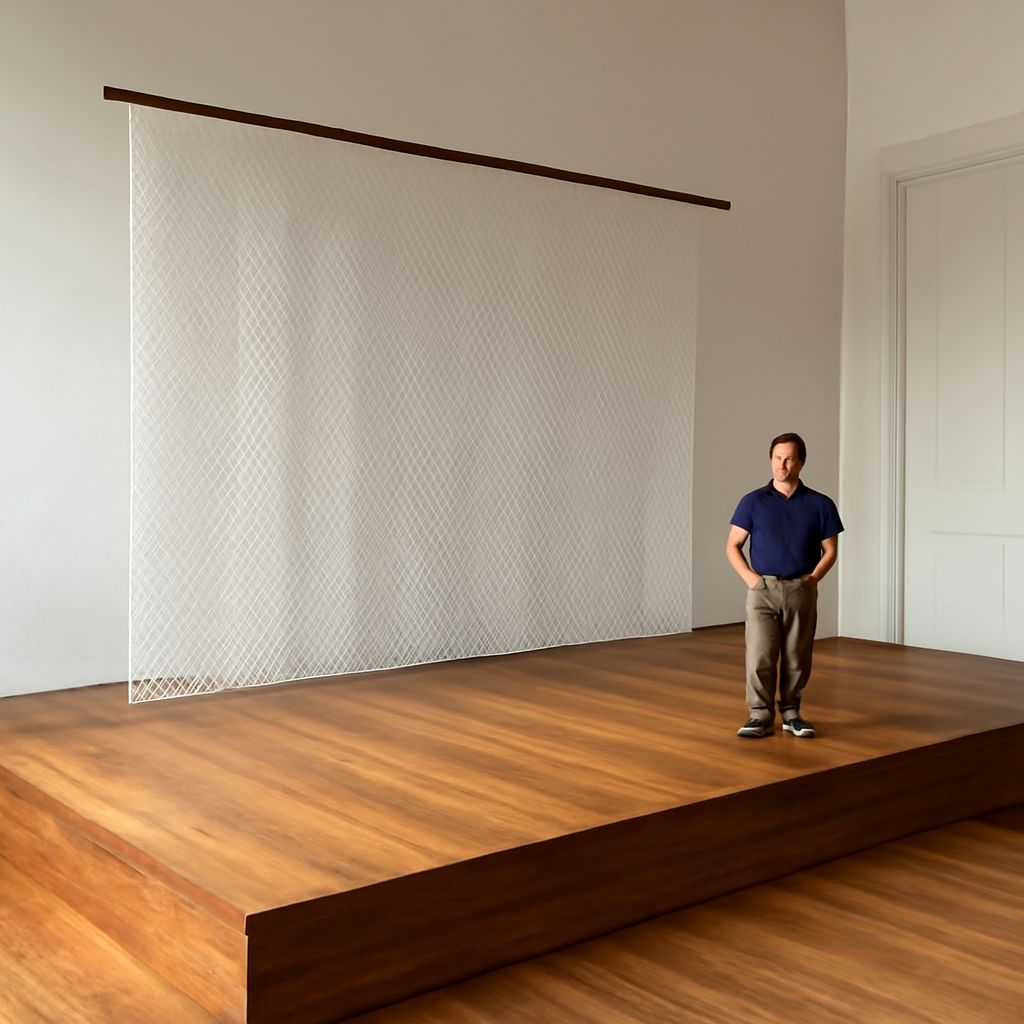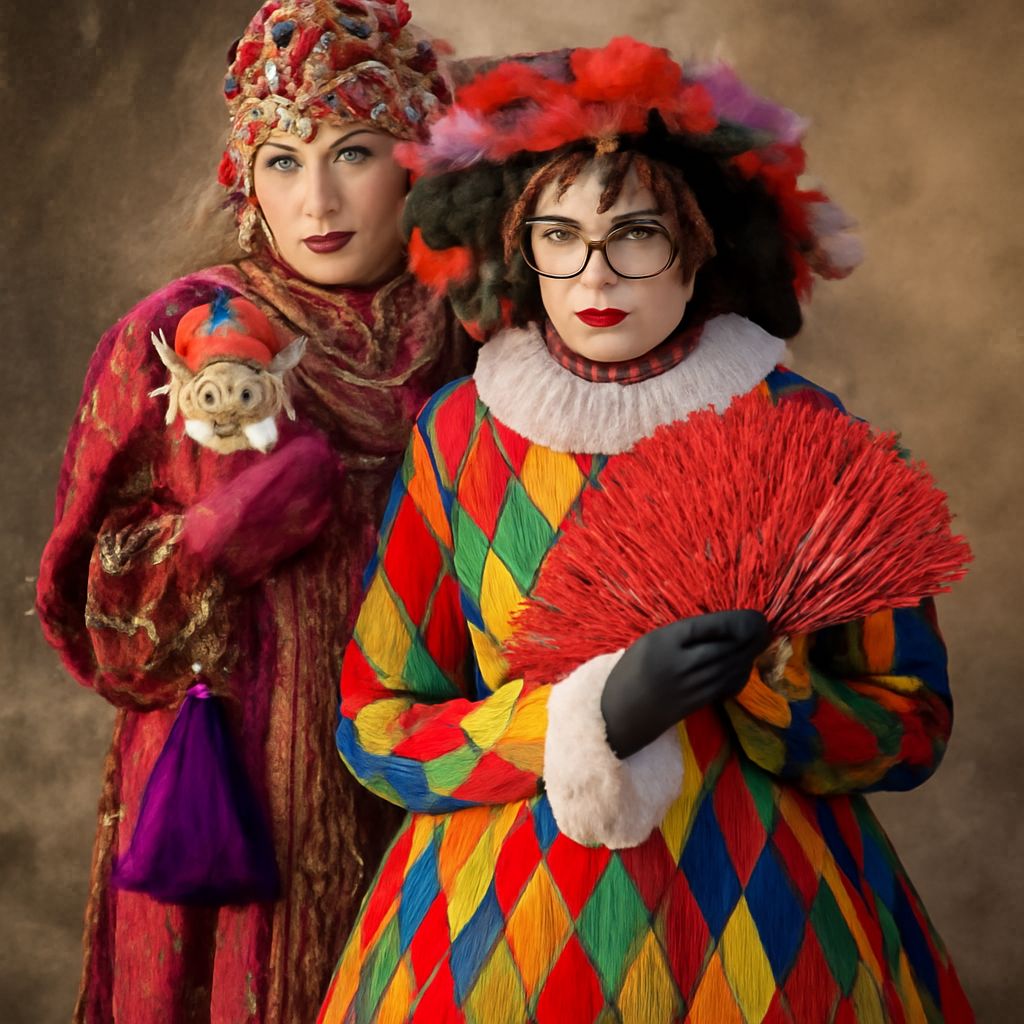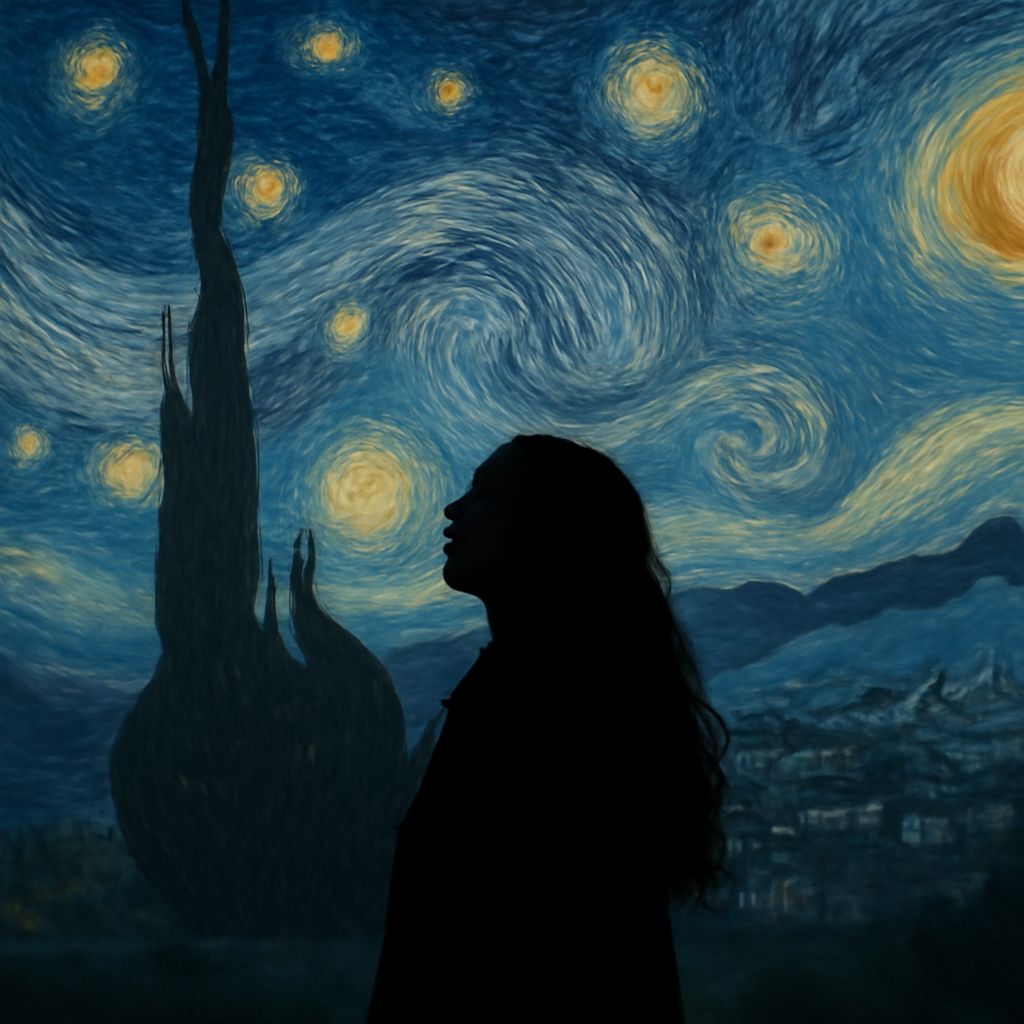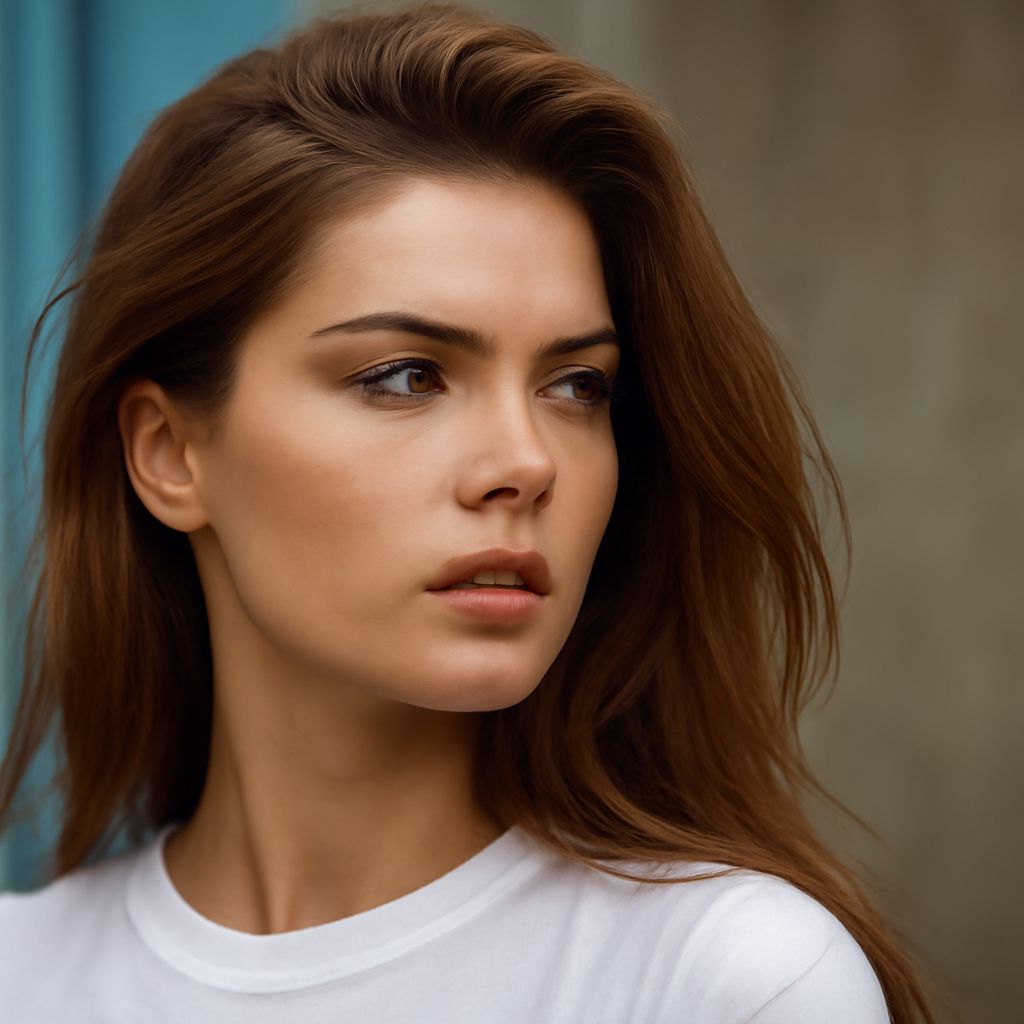
The 3/4 portrait is a popular technique in photography that captures a subject from the head down to approximately mid-thigh, providing a balanced representation that is both intimate and comprehensive. This angle, also called a three-quarter shot, is widely used in portrait photography to enhance the subject’s features and create a dynamic image. By understanding the nuances of the 3/4 portrait, photographers can create compelling images that resonate with viewers.
What is a 3/4 Portrait?
A 3/4 portrait refers to a photograph where the subject is captured from their head to mid-thigh. Unlike a full-body or headshot, the 3/4 portrait emphasizes the subject’s face and upper body, while also including more of their environment. This framing allows photographers to convey more context about the subject, such as their attire, posture, and expressions, without losing the focus on their facial features.
Benefits of the Three-Quarter Shot
The three-quarter shot offers several advantages for both photographers and subjects. First, it strikes a balance between a close-up headshot and a full-body portrait, providing a more versatile image. This perspective allows the inclusion of body language, which can add depth and emotion to the photograph. Additionally, the 3/4 angle tends to be more flattering, as it can highlight the subject’s best features while minimizing any perceived flaws. This makes it a preferred option for professional portraits, fashion photography, and even family photos.
How to Capture a Perfect 3/4 Portrait
Capturing a perfect 3/4 portrait requires attention to detail and an understanding of composition. Start by positioning your subject so that they are slightly turned to one side. This pose enhances depth and prevents the image from appearing flat. Use a lens with a focal length between 50mm and 85mm for a natural perspective that avoids distortion. Lighting is crucial; aim for soft, diffused lighting to create a flattering effect, such as natural light from a window or a softbox if shooting indoors.
Directing your subject is key to achieving a natural and engaging look. Encourage them to relax their shoulders and maintain eye contact with the camera to convey confidence. Pay attention to the background, ensuring it complements the subject without being distracting. Lastly, experiment with angles and distances to find the most compelling composition.
Common Mistakes to Avoid
One common mistake when capturing a 3/4 portrait is an unflattering angle. Shooting from below can make the subject appear larger than intended, while an angle that is too high can diminish their presence. Avoid cutting off the subject at awkward points, such as the knees or elbows, as this can disrupt the image’s flow.
Another pitfall is neglecting the background. A cluttered or busy background can detract from the subject and make the photo appear chaotic. Ensure the background is clean and adds to the story you want to tell. Additionally, insufficient lighting can make the portrait look dull and lifeless; always check your light sources to achieve the desired mood and clarity.
By understanding the principles of the 3/4 portrait and avoiding common mistakes, photographers can create striking images that capture the essence of their subjects and tell a compelling story.