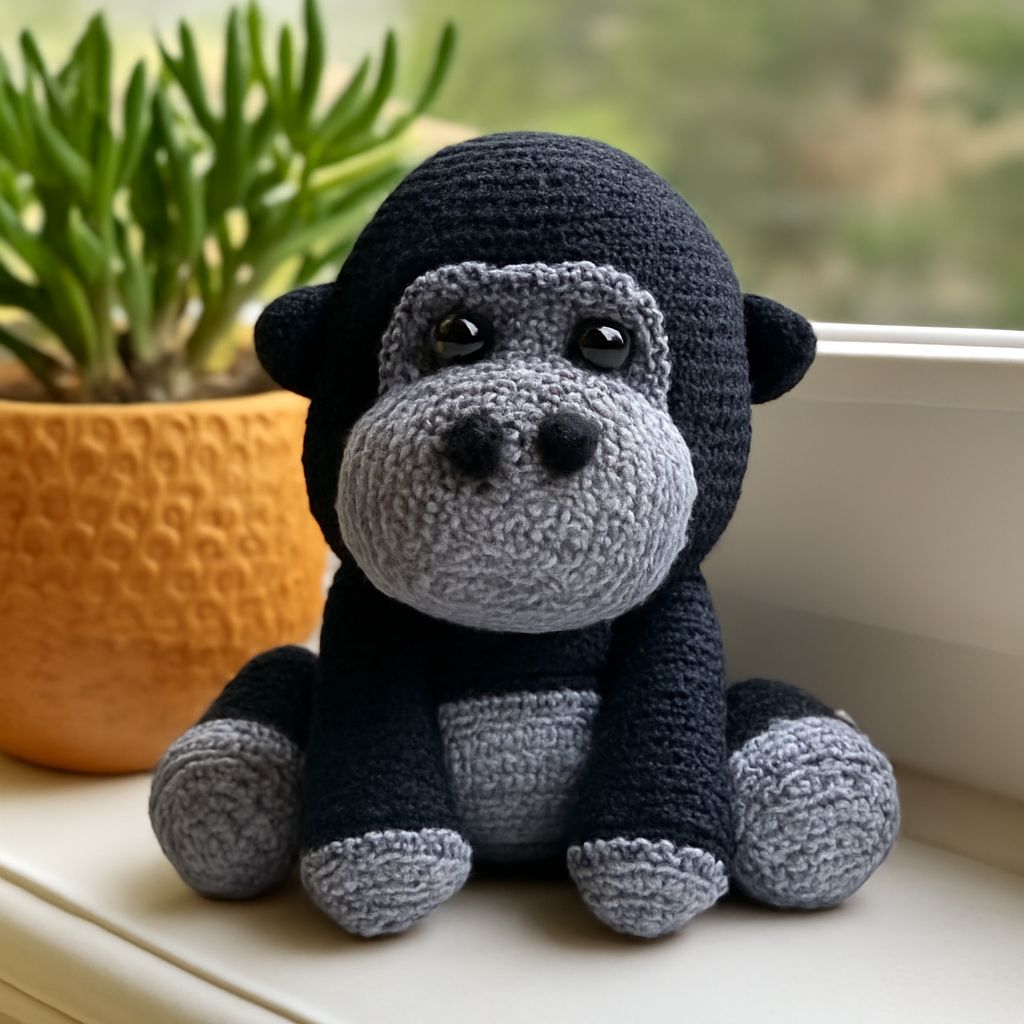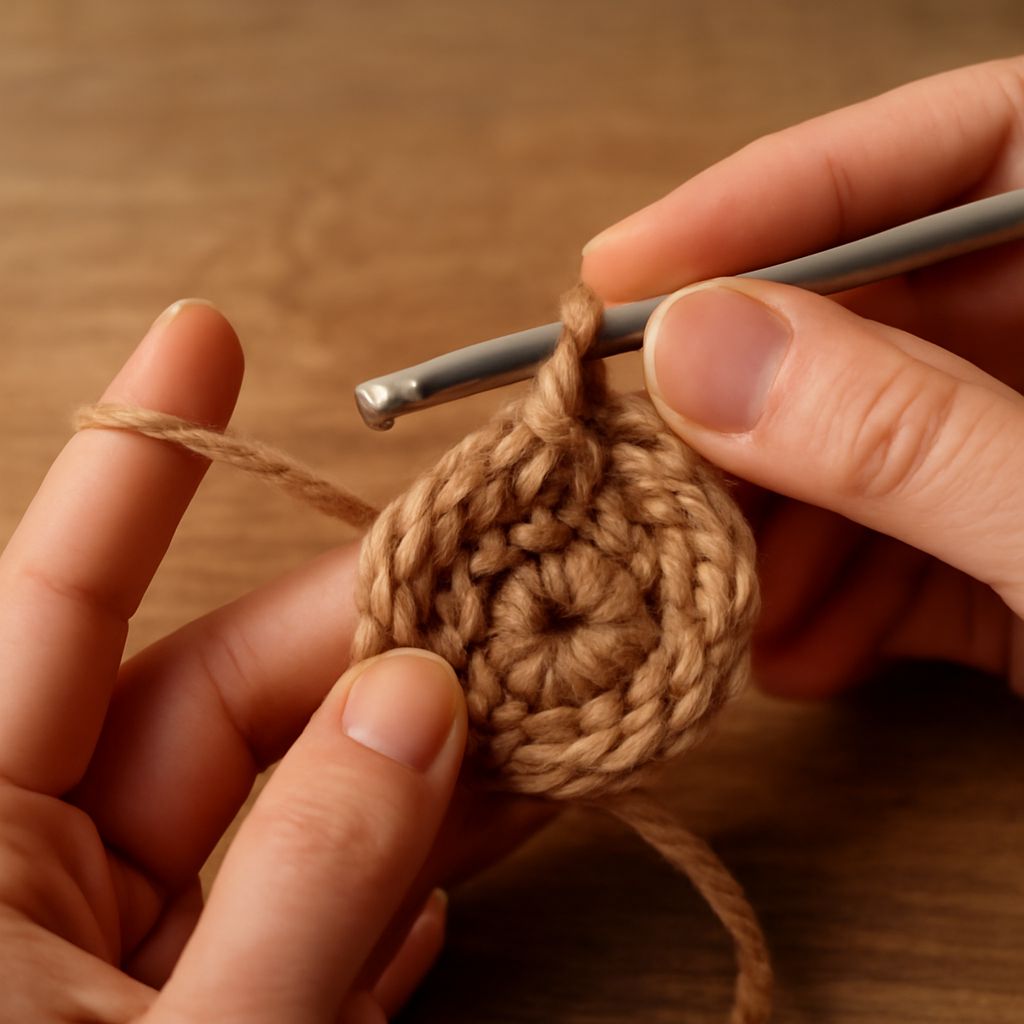
The magic circle is an essential technique in crochet that allows you to start projects with a tight, adjustable loop. Especially useful for creating circular designs such as hats, amigurumi, and mandalas, the magic circle eliminates the small hole often left in the center when using a traditional starting chain. This guide will walk you through how to make a magic circle in crochet with ease, making it perfect for beginners and a valuable tool for any crochet enthusiast.
Understanding the Magic Circle
The magic circle, also known as the magic ring, is a method to begin crocheting in the round. Unlike starting with a chain and joining it into a ring, the magic circle allows you to create an adjustable loop that can be tightened to close the center hole completely. This method is particularly popular in projects where a seamless look is desired. By mastering this technique, you can improve the finish of your crochet items significantly.
Materials Needed
- Yarn of your choice: A light or medium-weight yarn is recommended for beginners.
- Crochet hook: Select a hook size appropriate for the yarn you are using, usually indicated on the yarn label.
- Scissors: For cutting the yarn once your project is complete.
- Stitch marker: Optional, but useful for keeping track of your rounds.
Step-by-Step Magic Circle Tutorial
Creating the Initial Loop
- Hold the yarn in your dominant hand, with the tail end facing toward you.
- Wrap the yarn around two or three fingers to form a loop, crossing over the working yarn.
- Slide the hook under the first strand and grab the second strand (the working yarn) with the hook.
- Pull the working yarn through the loop to create a starting loop on the hook.
Securing the Circle
- Chain one to secure the loop on the hook. This does not count as a stitch.
- Work the required number of stitches into the ring. Typically, six single crochet stitches are used as a standard starting point for most patterns.
- Gently pull the tail end of the yarn to tighten the loop, closing the center of the circle.
- Continue working in the round as per your pattern instructions. Use a stitch marker to mark the beginning of each round if necessary.
Common Mistakes to Avoid
When learning how to make a magic circle, beginners may encounter a few common mistakes. Here are tips to avoid them:
- Loop too tight: Ensure the initial loop is loose enough to work into comfortably. You can adjust the tension once the first few stitches are in place.
- Not securing the circle: After completing your stitches, always pull the tail to tighten the loop. This ensures the center closes properly.
- Skipping stitches: Double-check your stitch count. Missing a stitch can lead to uneven rounds and affect your project’s shape.
By following this magic circle crochet tutorial, you’ll enhance your crochet skills and achieve professional-looking, seamless projects. Experiment with different yarns and hook sizes to see how the magic circle can transform your crochet creations.